You work in the Desk — the web interface at your company's ERP address (e.g. your-company.enfonoerp.com/app). HR lives in two workspaces on the left sidebar: HR and Payroll.
Finding a screen — 3 ways
Awesomebar
Press Ctrl/Cmd + G or click the top search bar, type e.g. "Leave Application", hit Enter.
Workspace
Click HR or Payroll on the left, then a shortcut or card.
Direct link
Every list is /app/<doctype> — e.g. /app/employee. New record: add /new.
How every form works (the universal flow)
Almost everything in HR is a document you create, save, and (for approvals/payroll) submit. Learn this once:
Open the list and click the blue + Add button (top-right) to start a new record.
Fill the fields. Anything with a red asterisk * is mandatory. Link fields (with a magnifier) let you search existing records.
Save with Ctrl/Cmd + S (or the Save button). The badge changes from Not Saved to Saved.
Submit (for approval / payroll documents) to lock and action it. A submitted doc can only be changed by Amend (cancel → new copy).
How to add an employee
Go to HR › Employee (or search "Employee") and click + Add Employee.
On the Overview tab fill the essentials: First Name, Gender, Date of Birth, Date of Joining.
Under Company Details pick the Company, and set Designation, Department, Branch, and Reports to (the manager).
Open the other tabs as needed — Joining, Address & Contacts, Attendance & Leaves (Holiday List, Leave Approver), Salary — then Save.
To let them self-serve (and use Fateh HR), set the User ID on the employee to their login email.
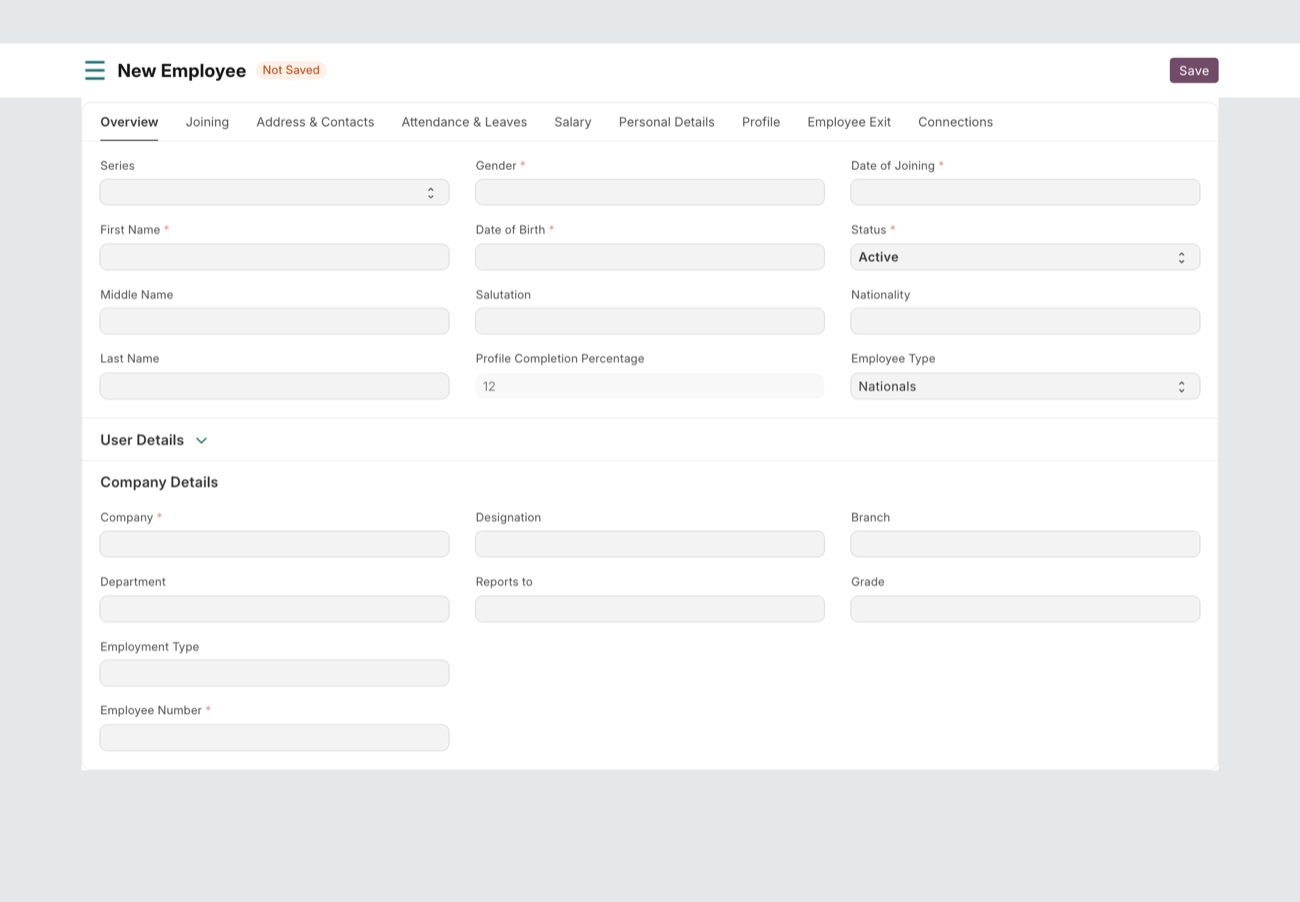
| Field | What to enter |
|---|---|
| First Name * | Employee's given name (Middle / Last optional). |
| Date of Joining * | Drives leave allocation, payroll start, and tenure. |
| Company * | Which company they belong to. |
| Reports to | Their manager — used for approvals and the org chart. |
| Holiday List | Weekly-offs & public holidays (Attendance & Leaves tab). |
| User ID | Links a login so the person can self-serve / use the app. |
Lifecycle events
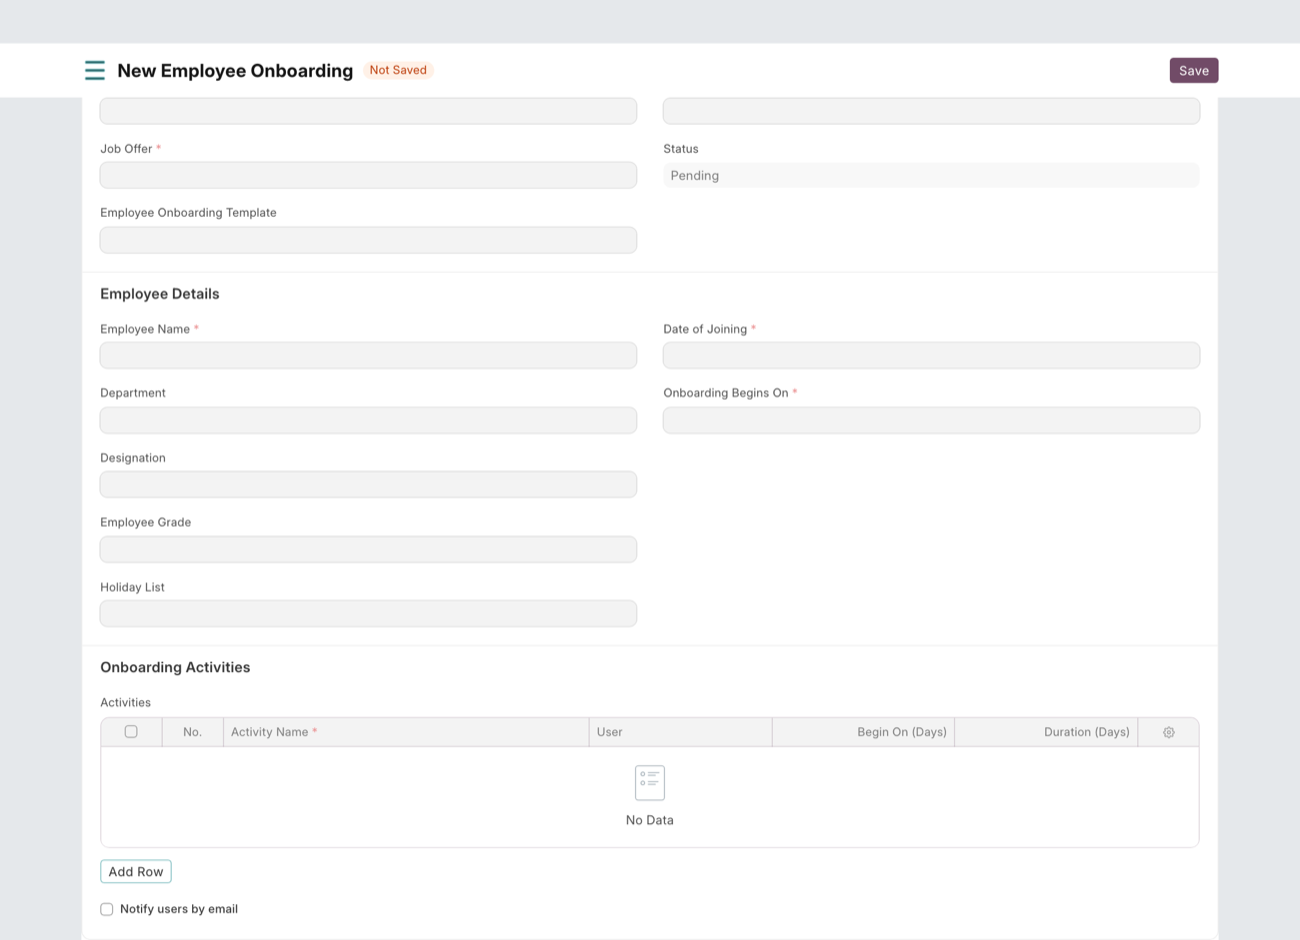
Use Employee Onboarding to run a joining checklist that can auto-create the employee. Later, record Employee Transfer (department/branch change), Employee Promotion (designation/grade change), and finally Employee Separation (exit checklist & relieving). Each is a document under the HR workspace — create, fill the effective date, submit.
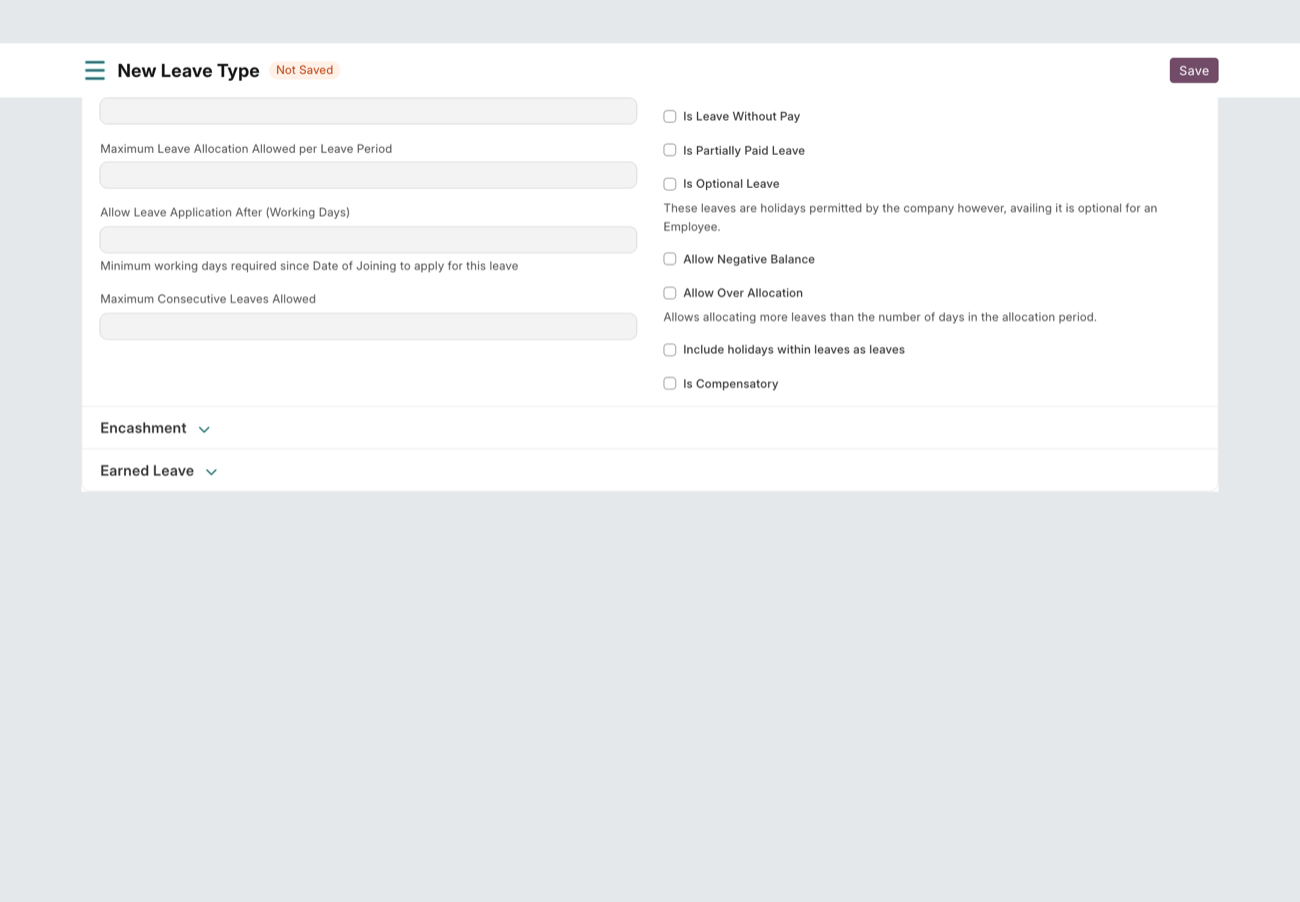
Step 1 — Define Leave Types
Go to HR › Leave Type › + Add. Give it a name (e.g. Annual Leave) and set the rules: max days allowed, whether it's paid, carry-forward, and whether it's encashable.
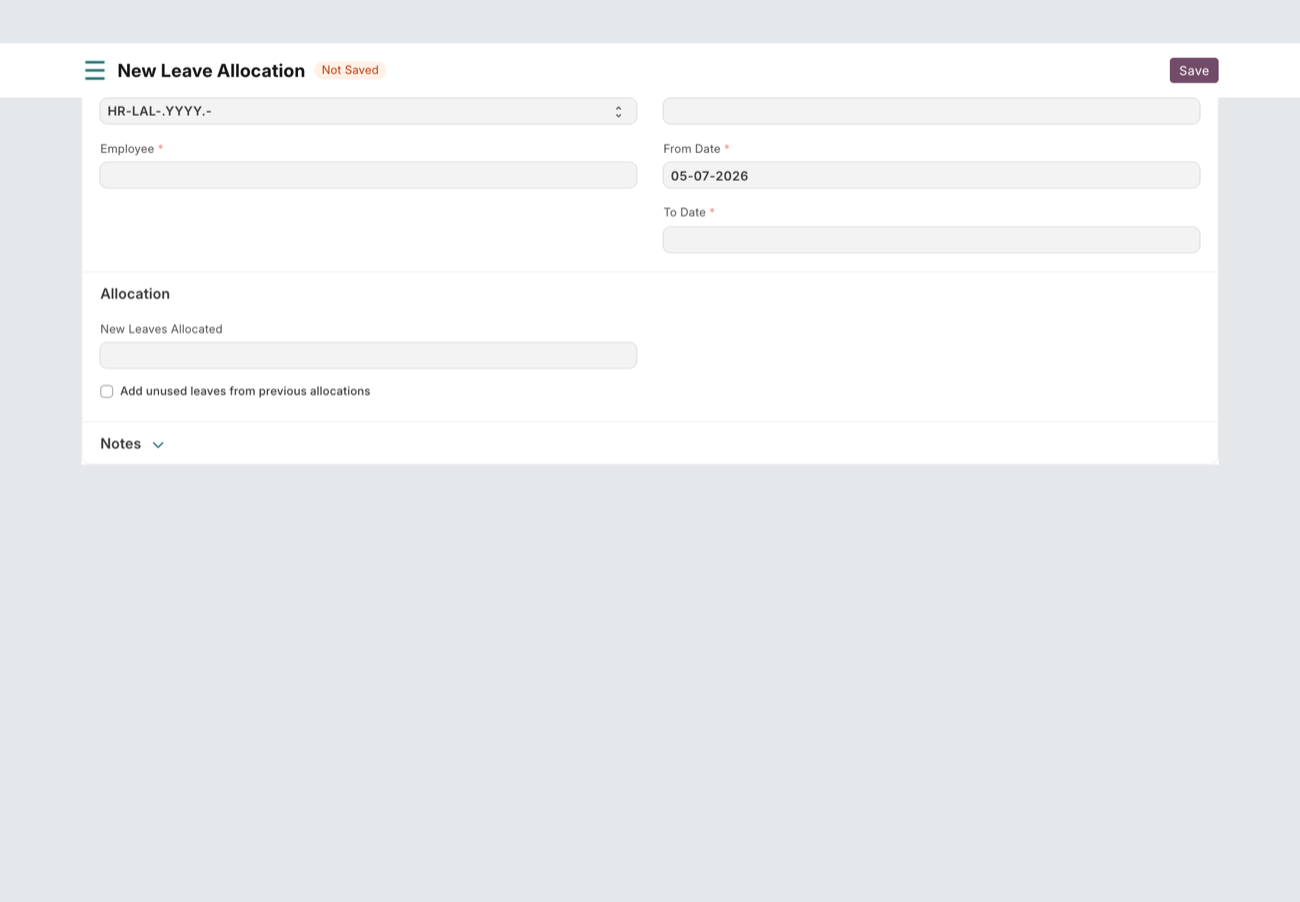
Step 2 — Allocate leave to employees
Employees can only apply once they have a balance. Either assign a Leave Policy (a bundle of types + annual counts) via a Leave Policy Assignment, or create a Leave Allocation directly for an employee and period.
Step 3 — Apply for leave
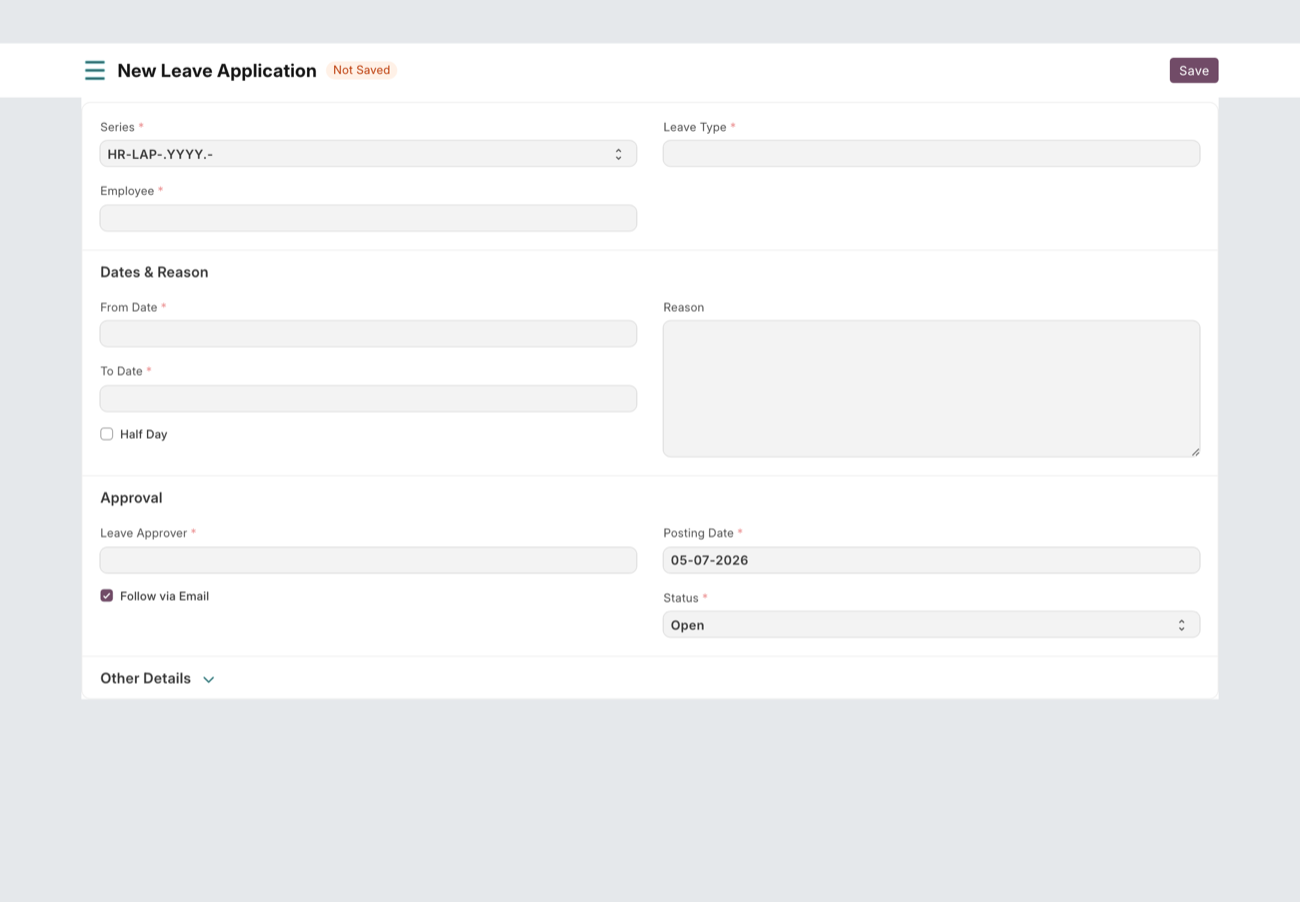
The employee (or HR on their behalf) goes to HR › Leave Application › + Add, picks the Employee, Leave Type and From/To dates. The form shows the available balance. Submit sends it to the Leave Approver; on approval the balance is reduced.
Holidays
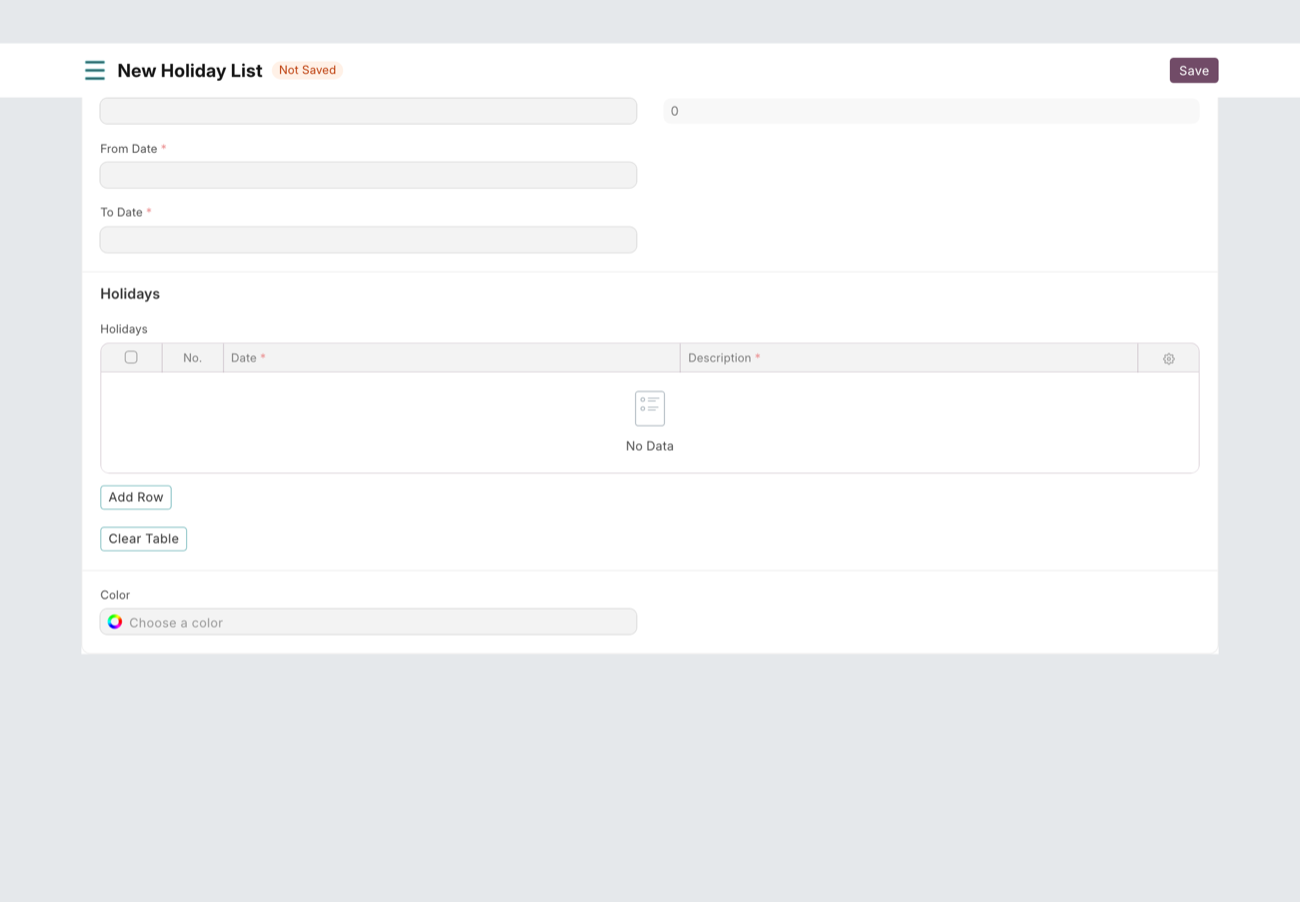
Create a Holiday List (HR › Holiday List) for the year — add weekly-offs in bulk and public holidays. Assign it on each Employee so attendance and leave know their non-working days.
How to mark attendance manually
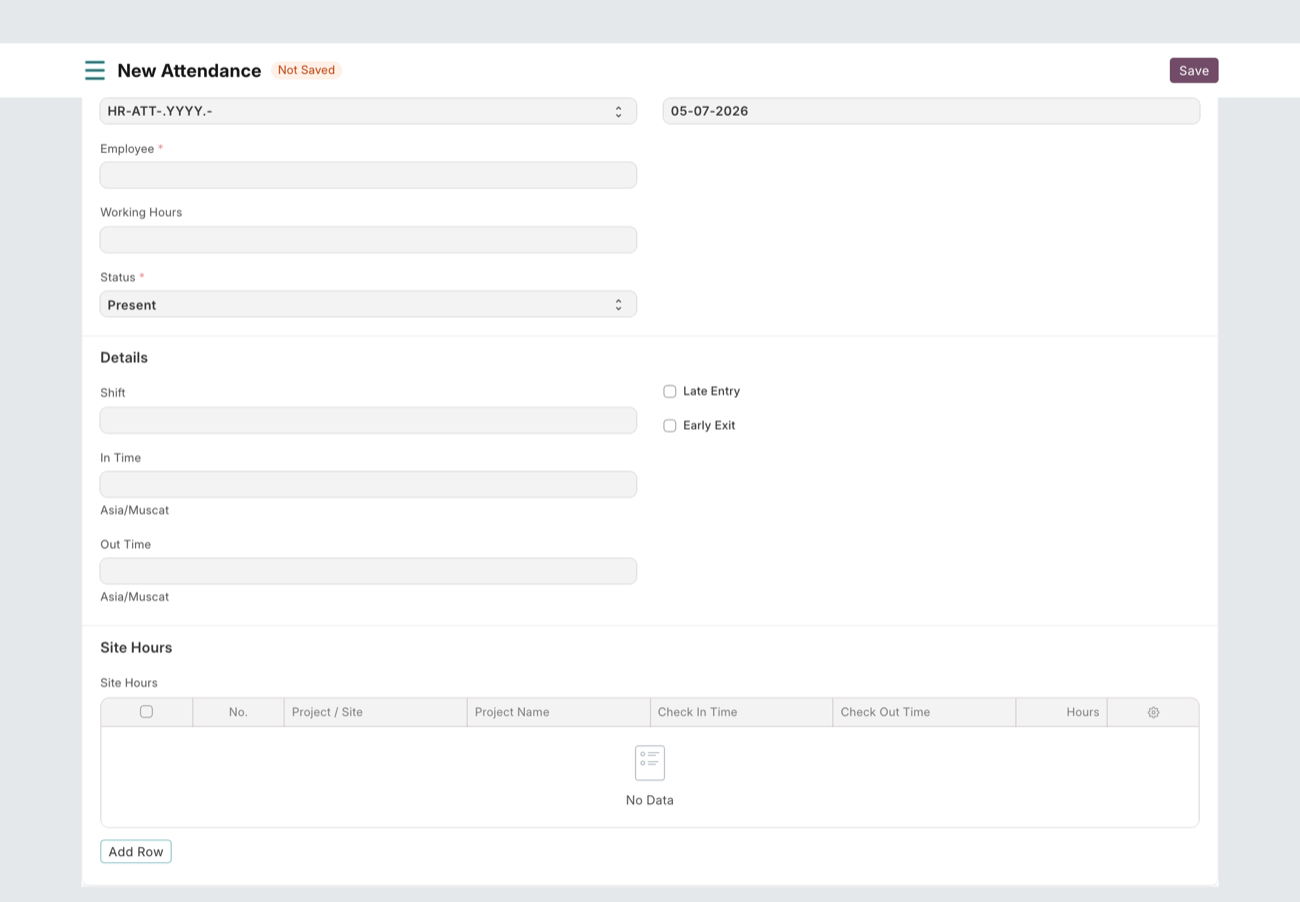
Go to HR › Attendance › + Add, choose the Employee and Date, set Status (Present / Absent / On Leave / Half Day), then Submit. For a whole team at once, use the Attendance list › Mark Attendance tool.
How to automate attendance with Shifts
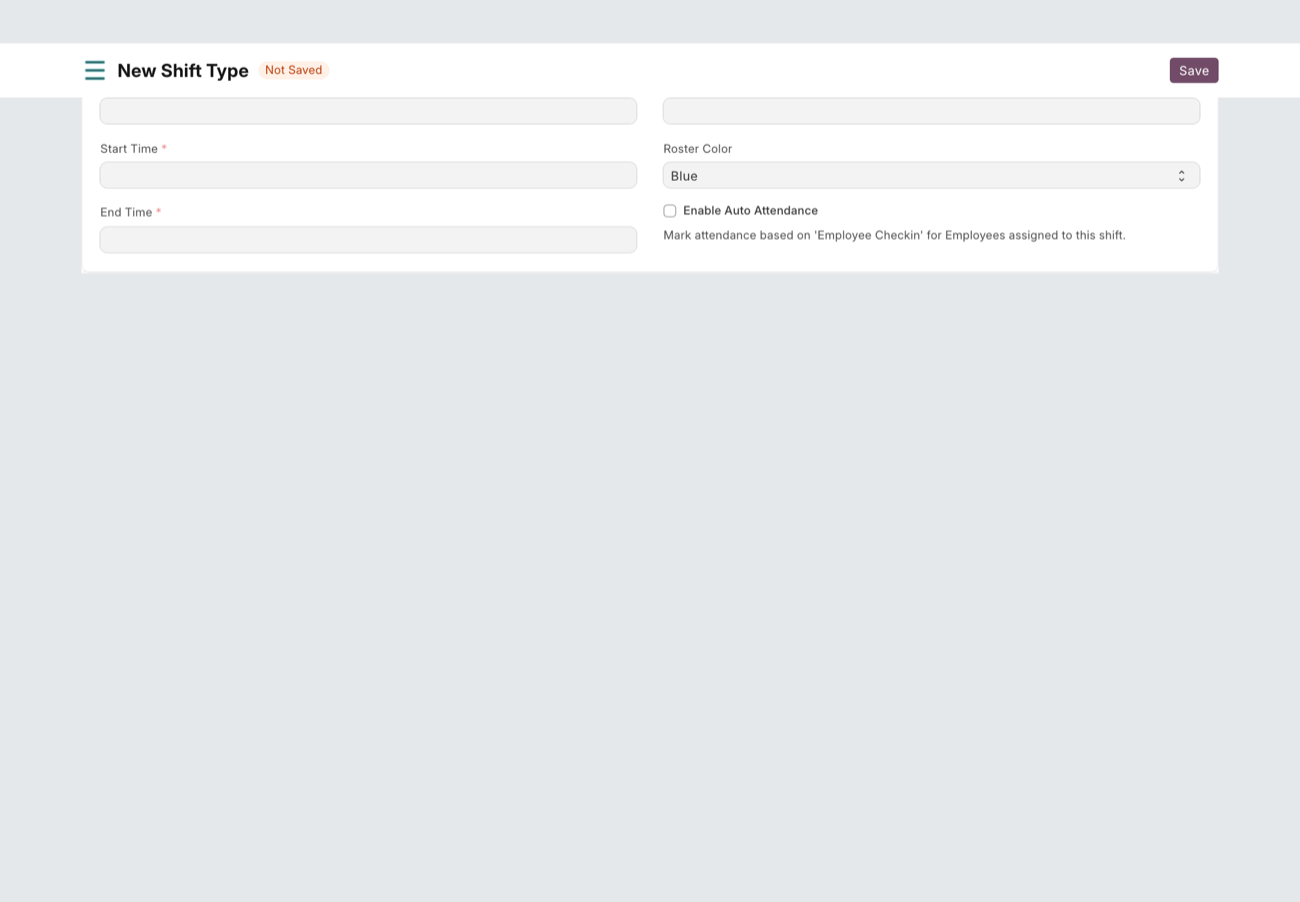
Create a Shift Type (HR › Shift Type) — set start/end time and grace periods.
Turn on Enable Auto Attendance and set how check-ins map to Present/Absent (and when it runs).
Put employees on the shift with a Shift Assignment. Their Employee Checkins (from Fateh HR or a device) then become daily Attendance automatically.
How to file an expense claim
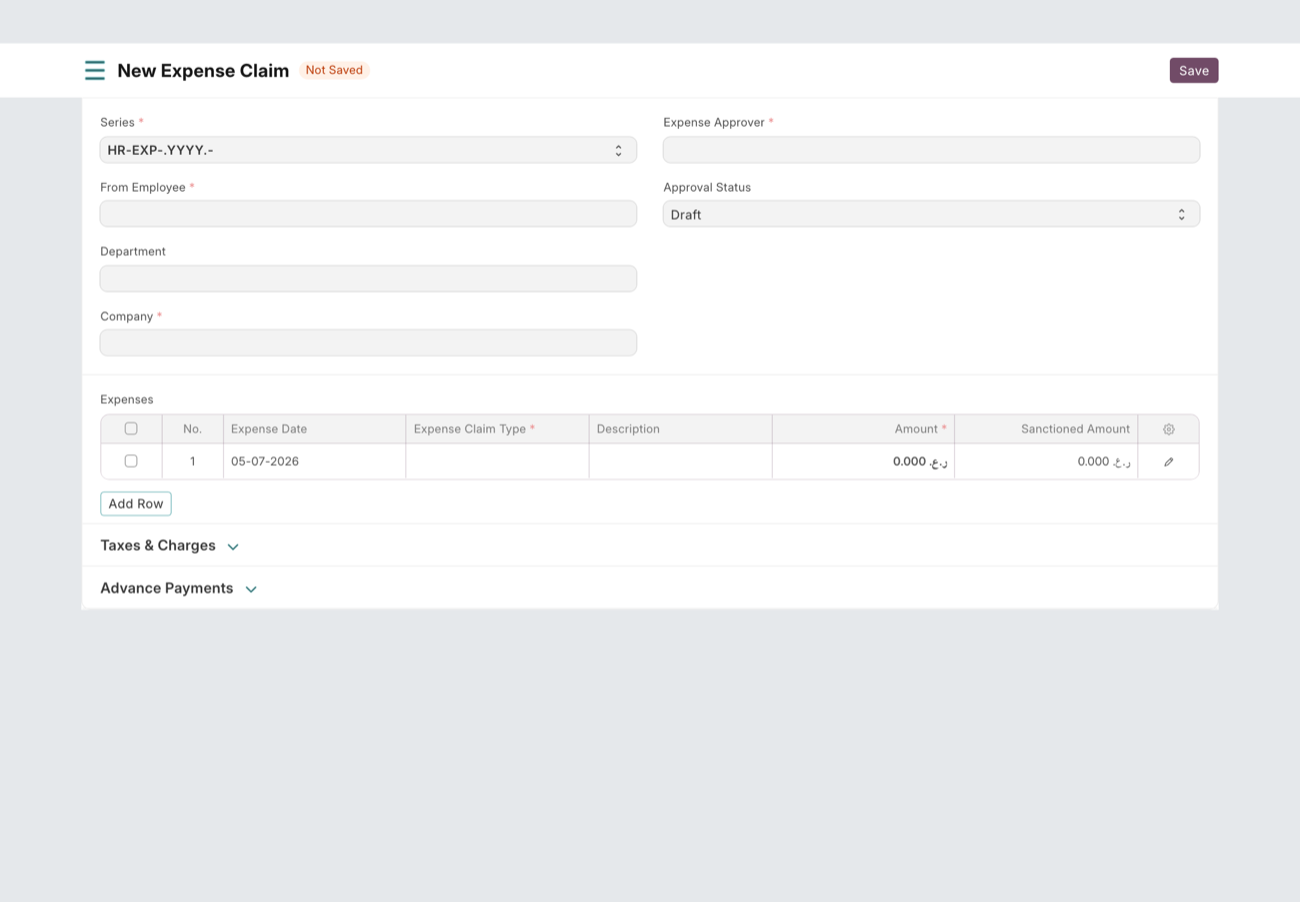
Go to HR › Expense Claim › + Add and select the Employee.
In Expenses, add a row per item — Expense Type, Amount, date and description. Attach the receipt.
Set the Expense Approver and Submit. Once approved, it's paid via a Payment Entry.
Step 1 — Create Salary Components
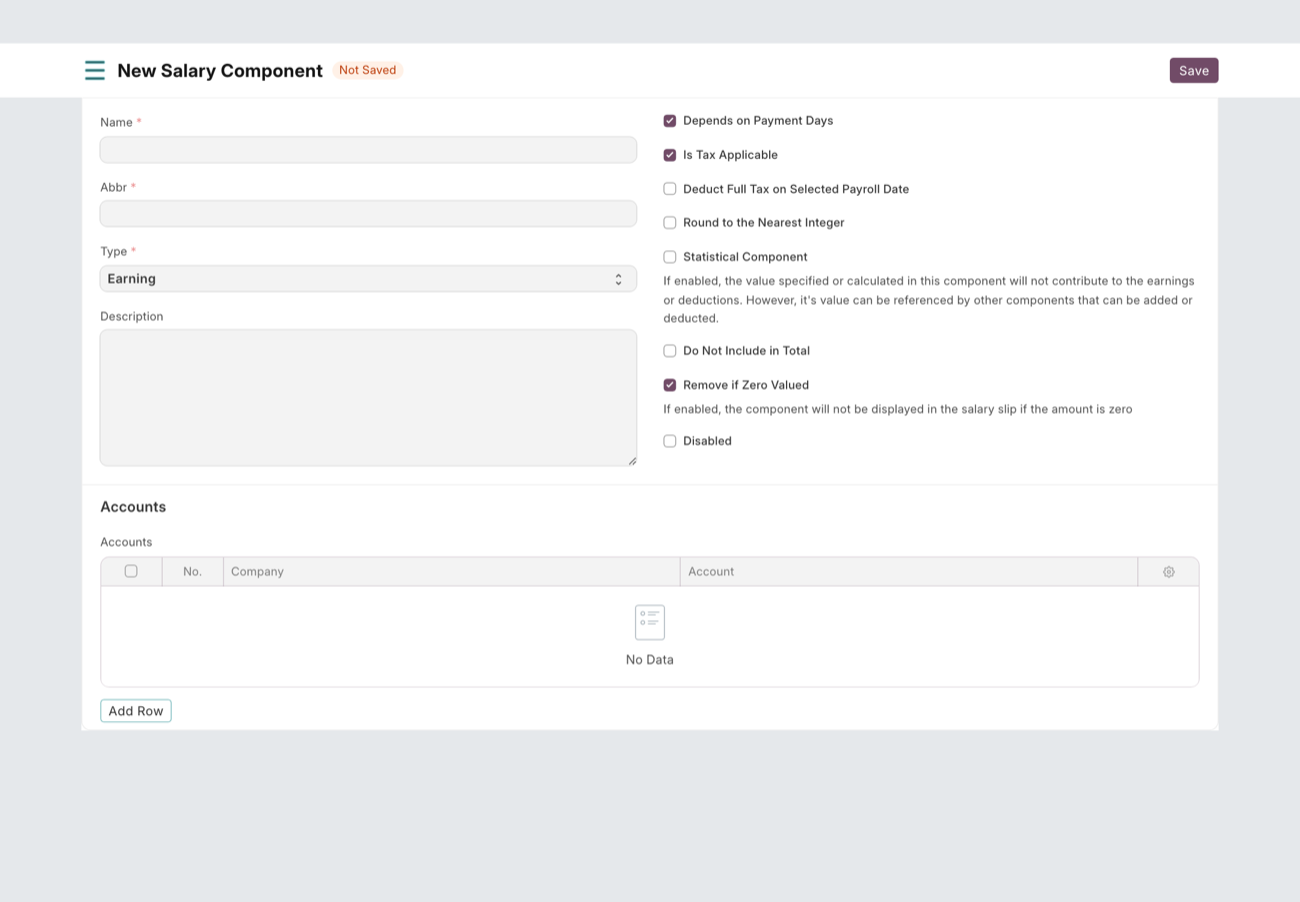
Each earning or deduction is a Salary Component (Payroll › Salary Component) — e.g. Basic, Housing Allowance, GOSI, Loan. Set whether it's an earning or deduction and, if variable, a formula or condition.
Step 2 — Build a Salary Structure
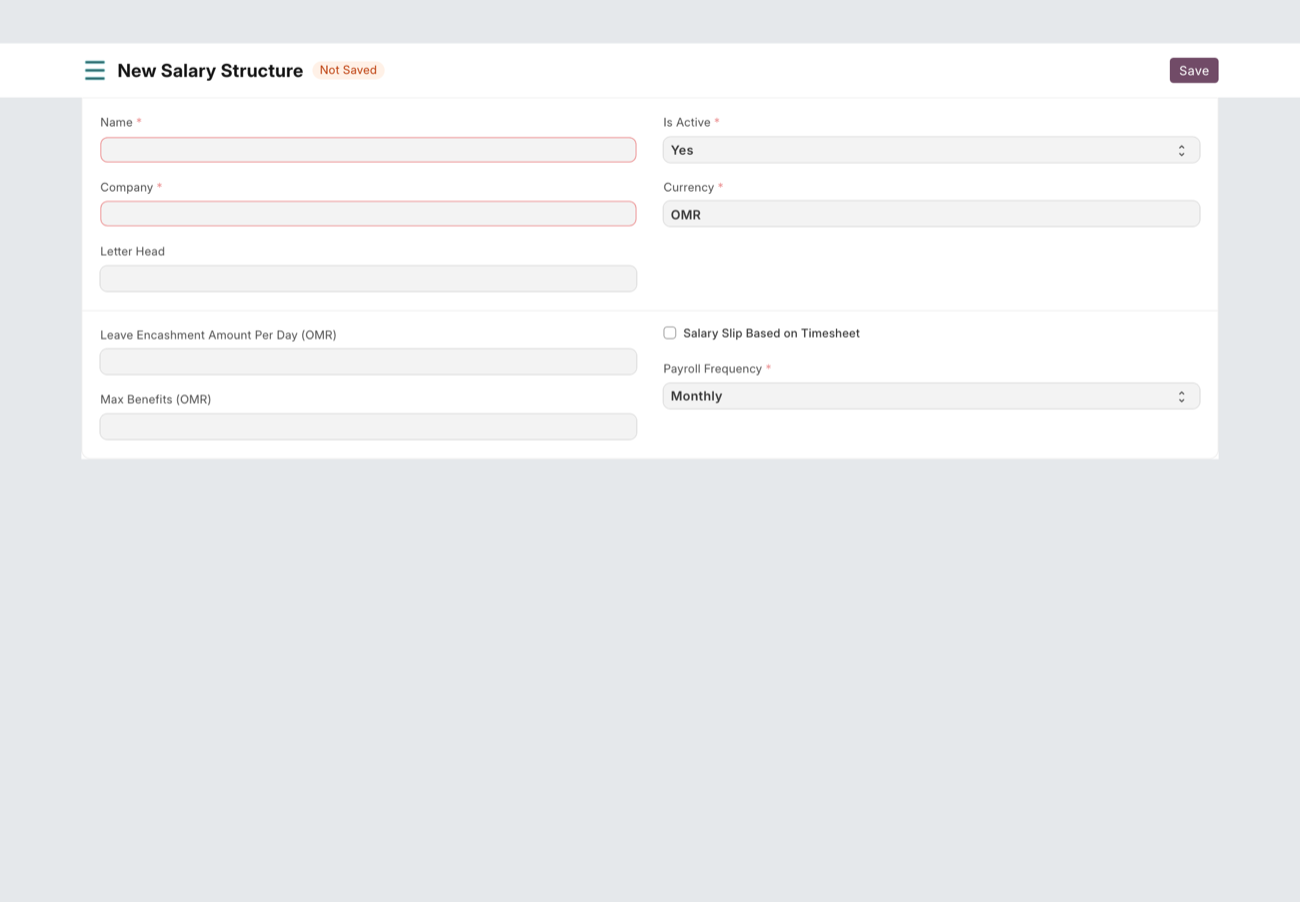
A Salary Structure (Payroll › Salary Structure) bundles the components into a reusable template — list the earnings and deductions and how each is calculated.
Step 3 — Assign & run payroll
Assign the structure to each employee with a Salary Structure Assignment (their base pay + from date).
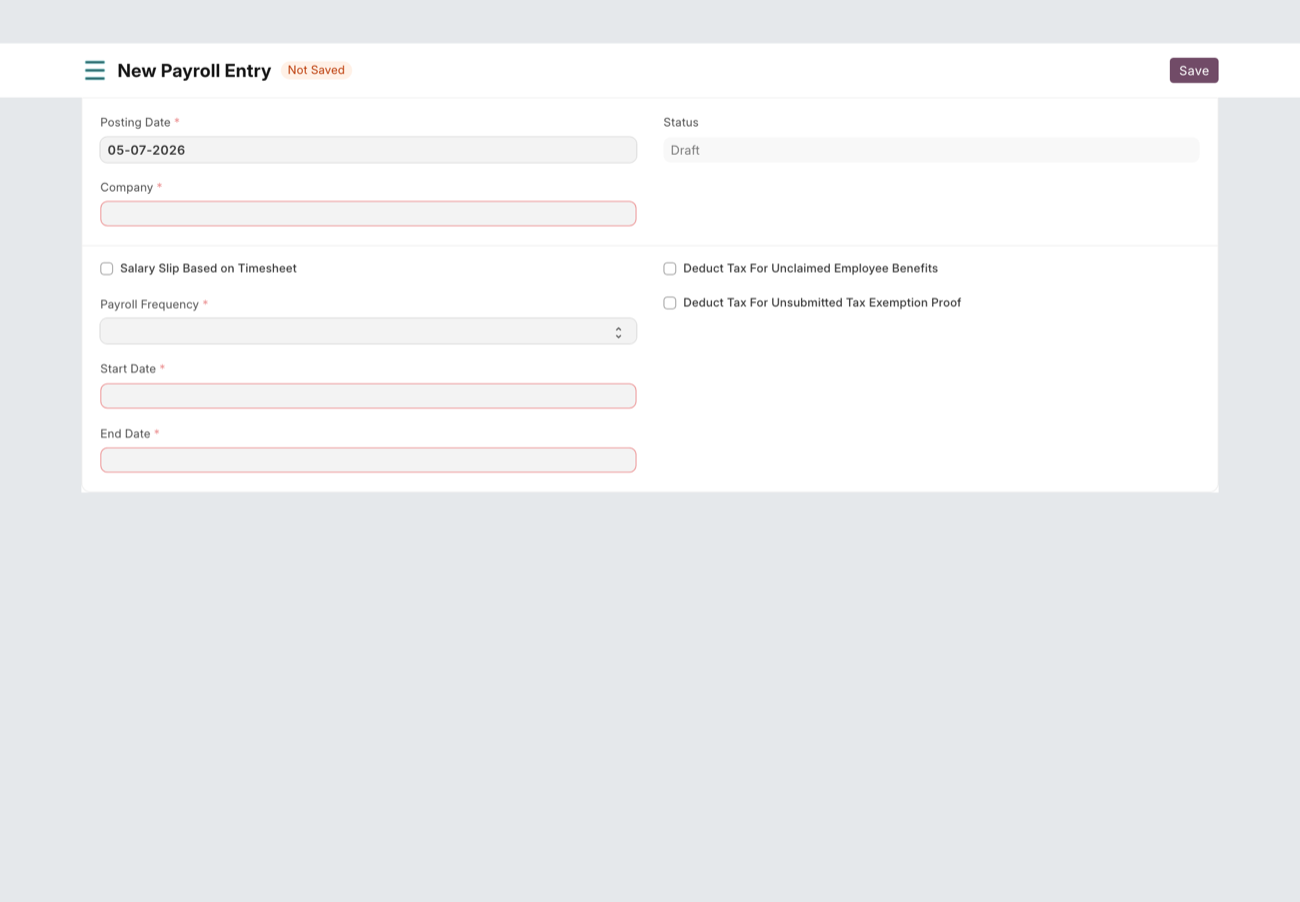
Create a Payroll Entry for the period, pick the company/branch/department filter, and pull the employees.
Click Create Salary Slips → review → Submit. Each employee gets a Salary Slip they can download (and view in Fateh HR).
Statutory & regional
Model deductions like GOSI (KSA) or end-of-service as Salary Components with the right formula/caps. Confirm current rates with the client's payroll lead before go-live.
How to run an appraisal cycle
Create an Appraisal Template with the KRAs / rating criteria and their weightings.
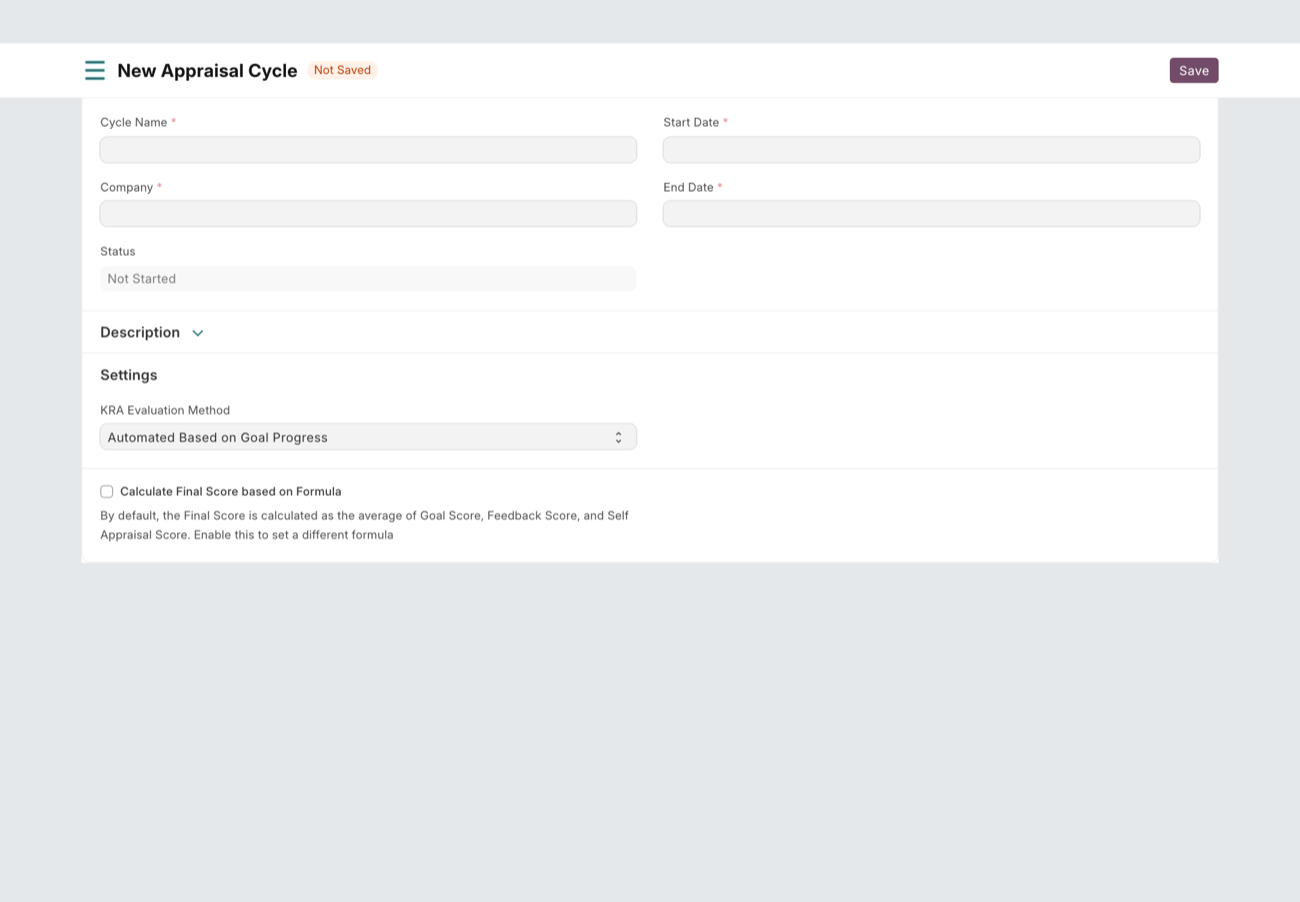
Create an Appraisal Cycle (Performance › Appraisal Cycle) for the review period, add the employees, and generate their appraisals.
Employees self-score their Goals; managers score and finalise. The cycle rolls up the ratings.
How to post a job & track applicants
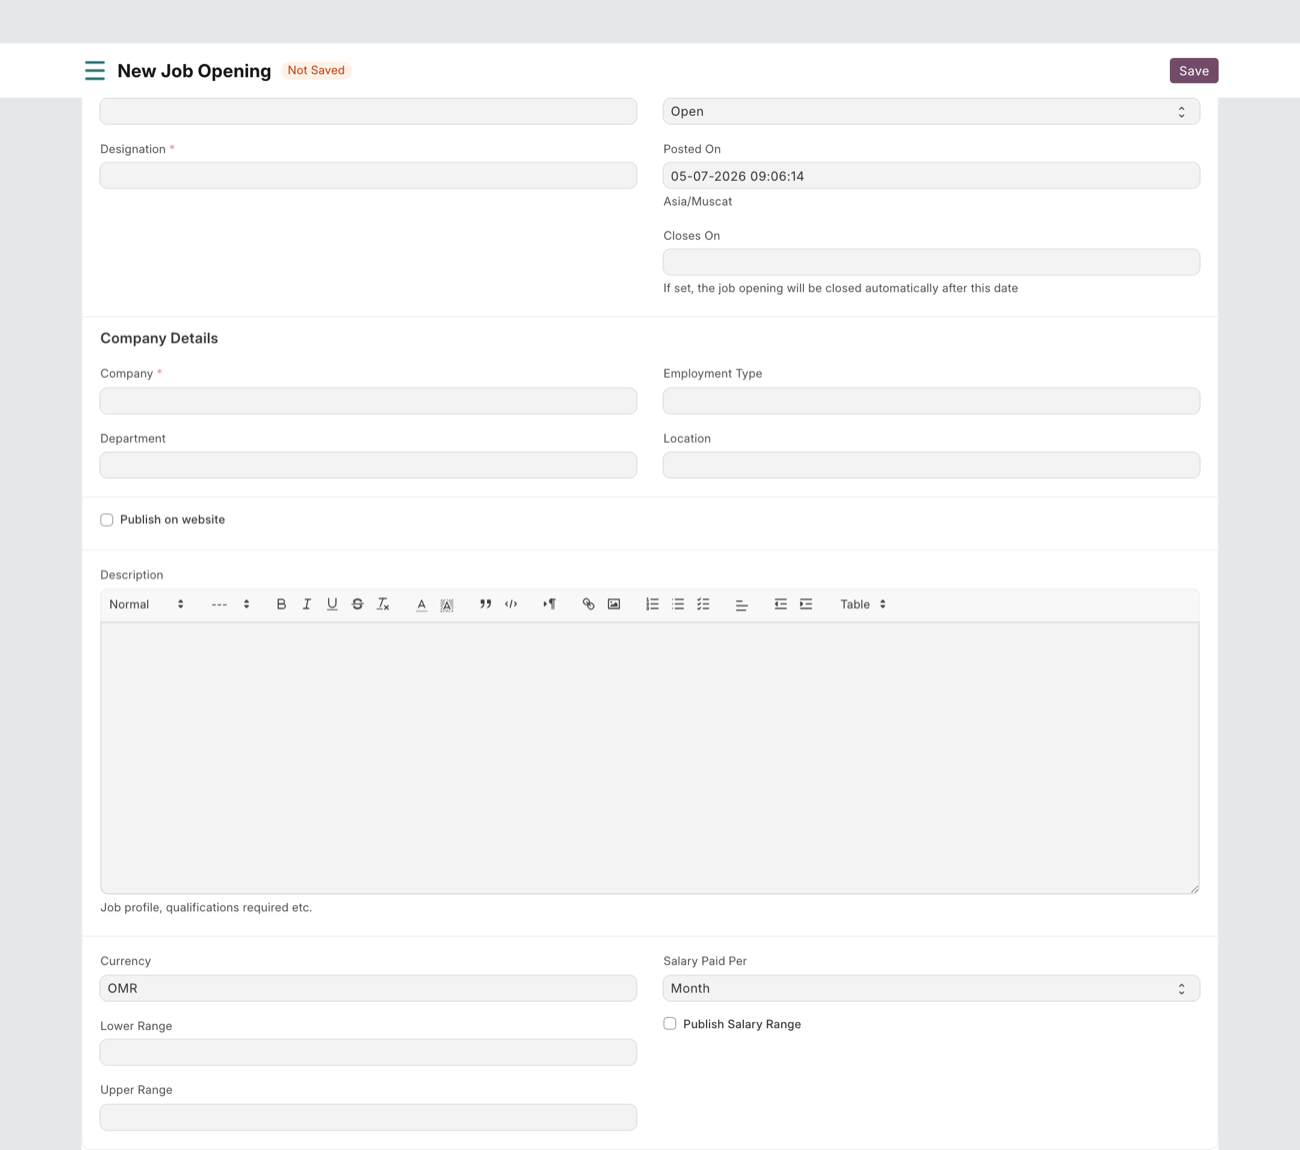
Create a Job Opening (Recruitment › Job Opening) — tie it to a Designation and Department, set the status to Open.
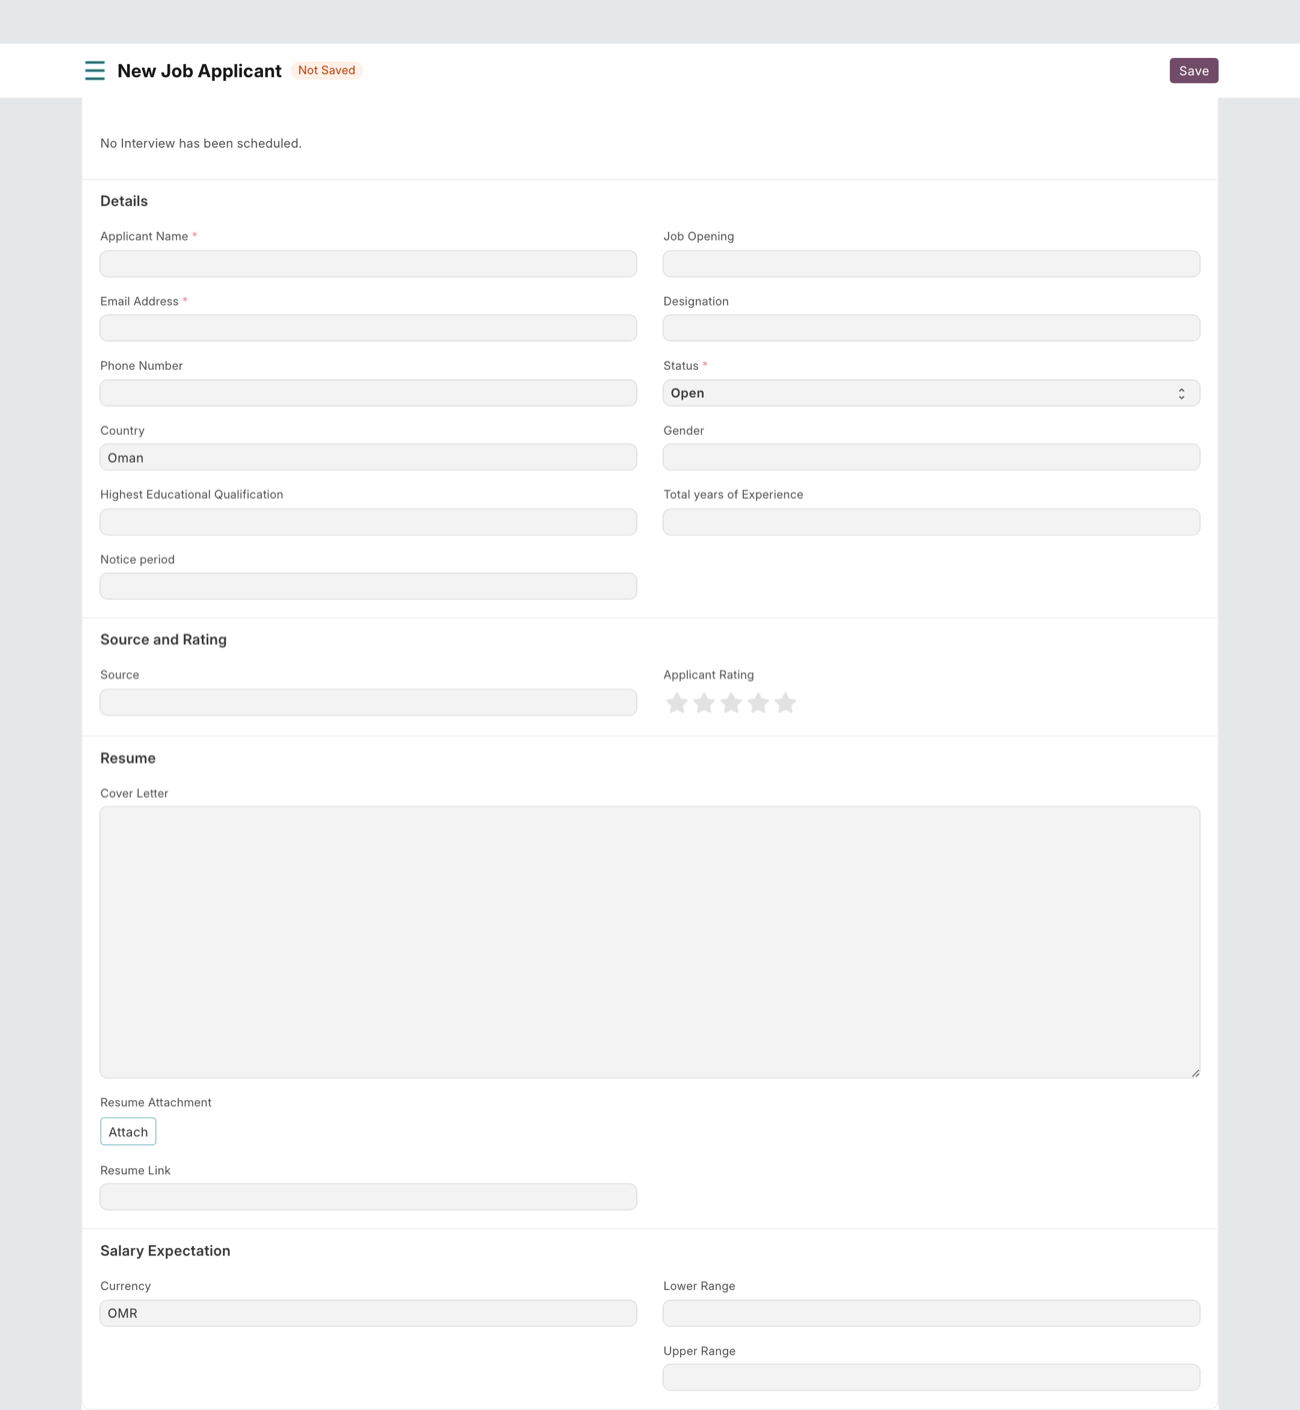
Log each candidate as a Job Applicant against the opening; track their Status as they progress.
Schedule Interviews, record feedback, then raise a Job Offer. On acceptance, flow the candidate into Employee Onboarding.
How to run & export a report
Open it — search the report name (Ctrl/Cmd + G), or find it under the HR / Payroll workspace "Reports" cards.
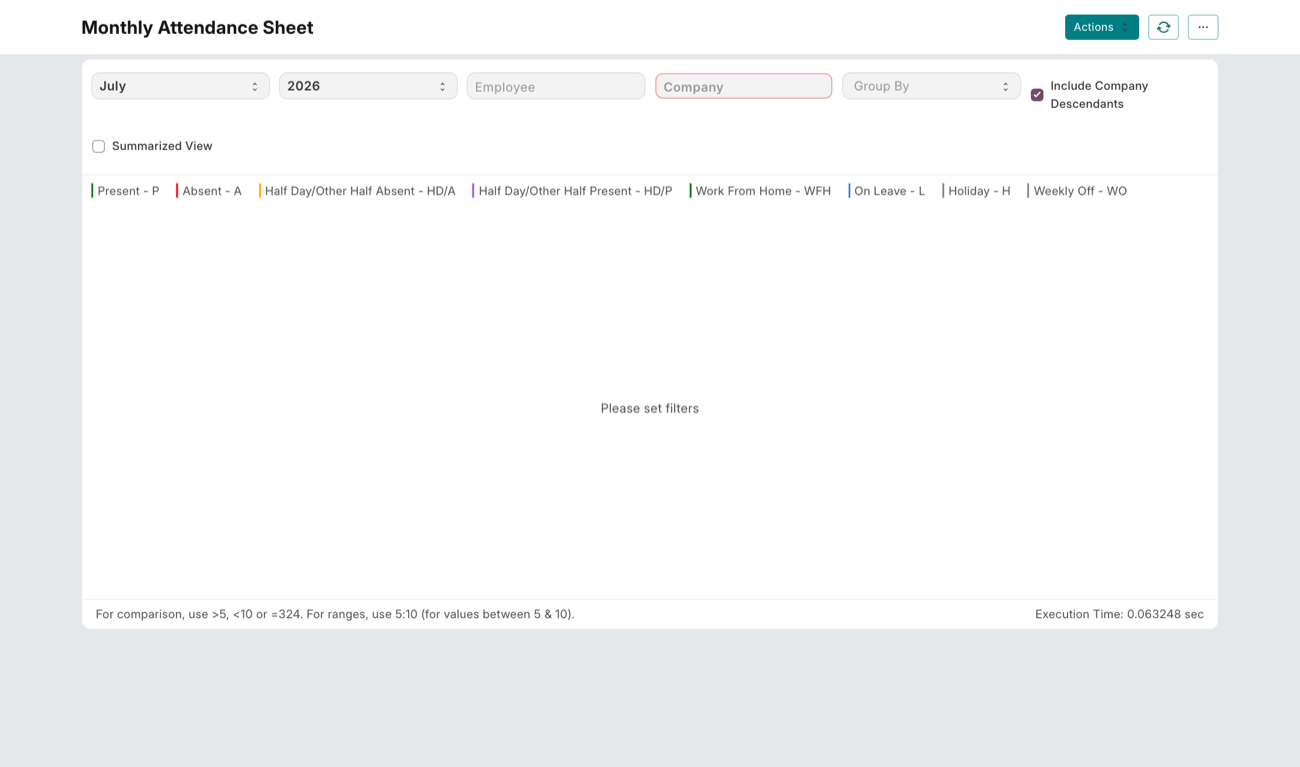
Set the filters at the top — Company, a date range (From/To or Month/Year), and optionally Employee / Department — then Refresh.
Use the results — sort/reorder columns, and from the ⋮ menu choose Group By, Pick Columns, Export (Excel / CSV), or Print for a PDF.
The reports you'll use
| Report | Module | What it shows |
|---|---|---|
| Monthly Attendance Sheet | Attendance | A month grid — each employee's day-by-day Present / Absent / Leave / Half-day, with totals. |
| Employee Checkin | Attendance | The raw IN / OUT logs; filter by employee, shift, or date range. |
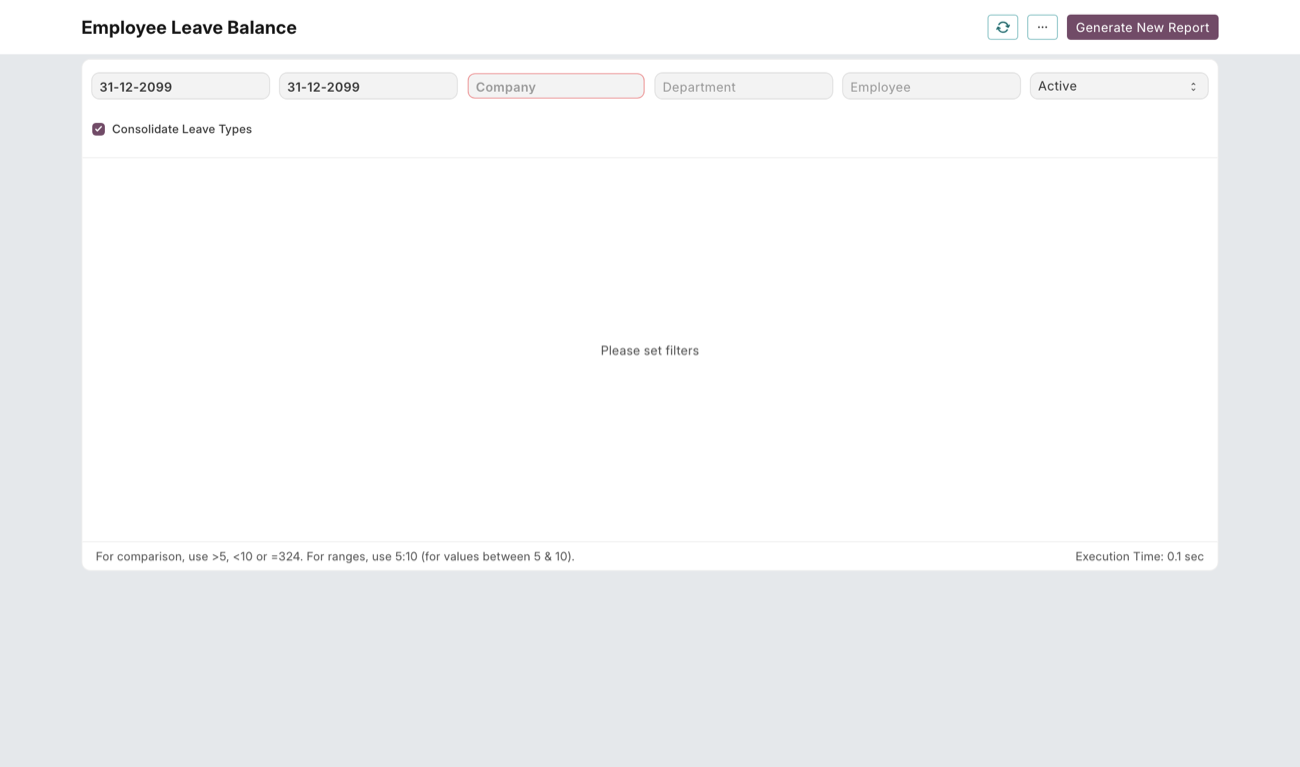
| Employee Leave Balance | Leave | Remaining days per leave type per employee, as of a date. |
| Employee Information | Employee | Master-data export — contact, joining, department, designation, IDs. |
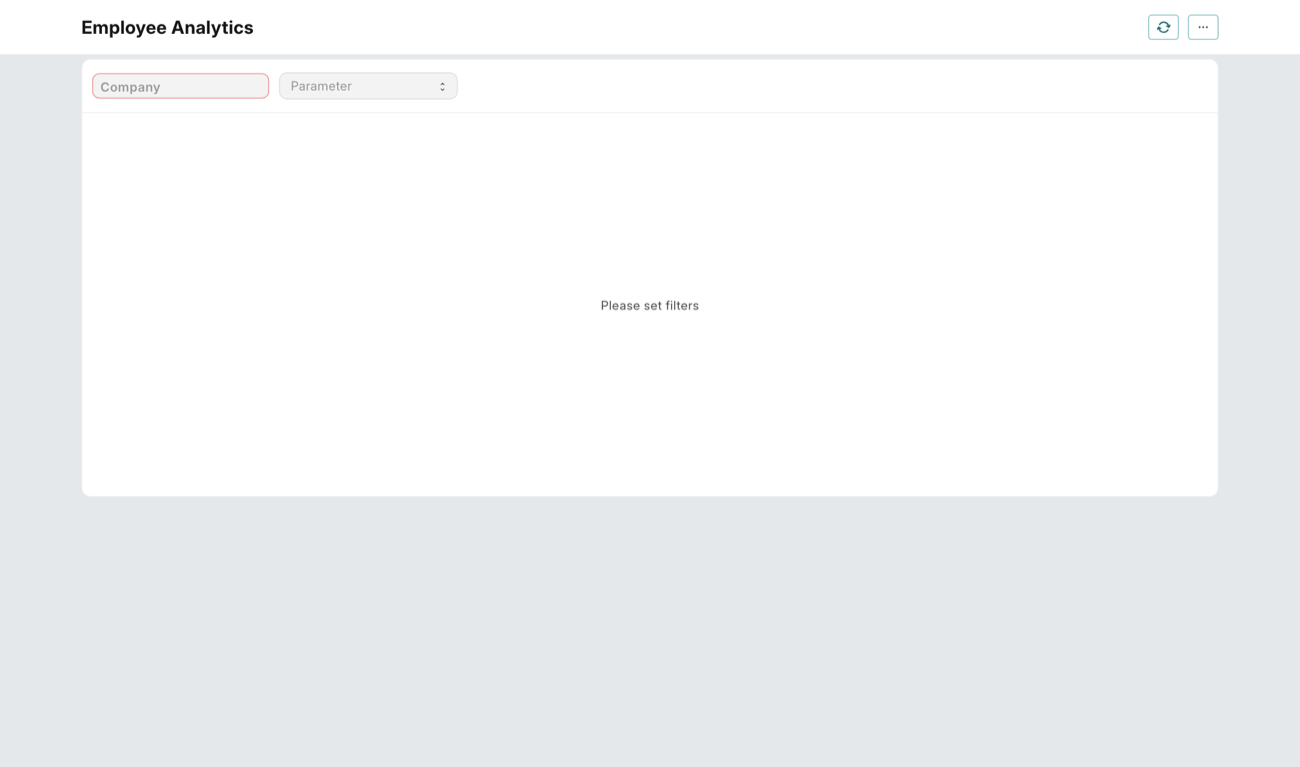
| Employee Analytics | Employee | Headcount grouped by department / designation / grade / branch. |
| Employee Birthday | Employee | Upcoming birthdays for the month. |
| Employees Working on a Holiday | Attendance | Who has attendance on a holiday-list day. |
| Employee Exits | Employee | Separations / attrition over a period. |
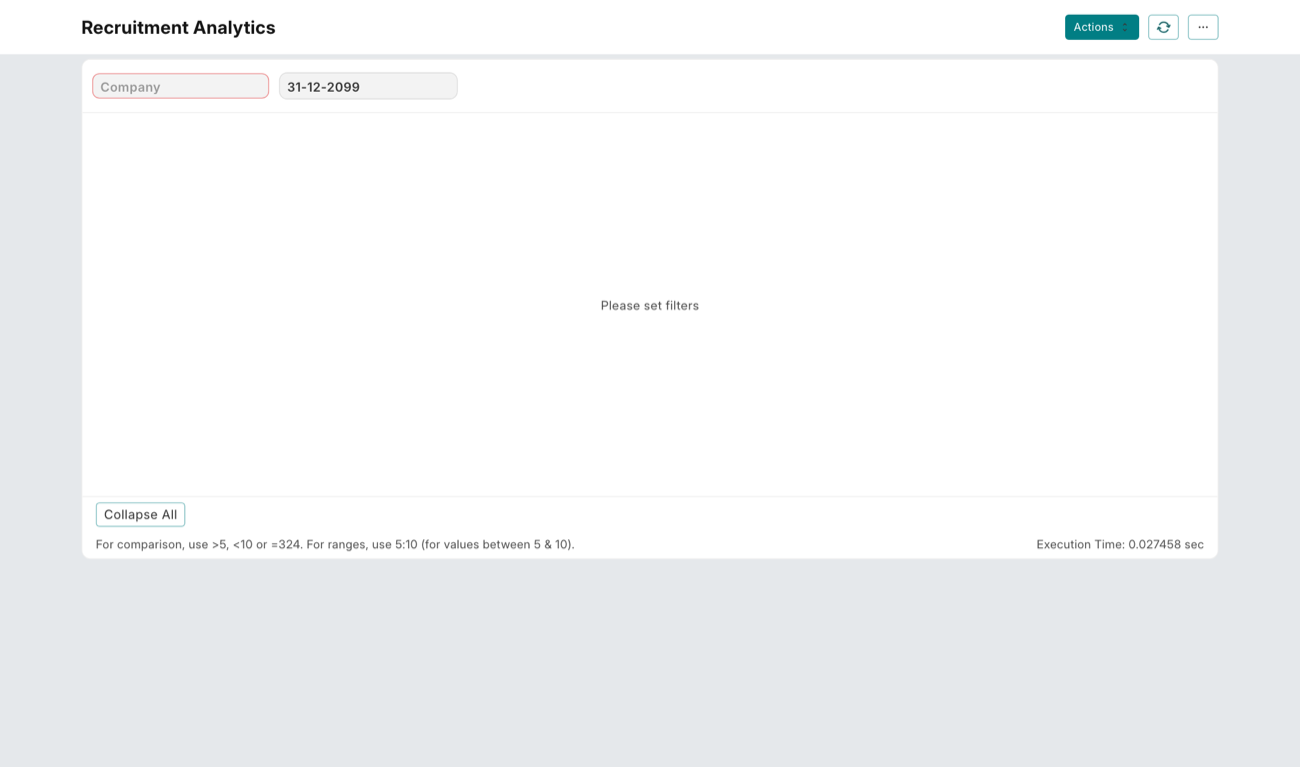
| Recruitment Analytics | Recruitment | Pipeline — openings, applicants and offers by stage. |
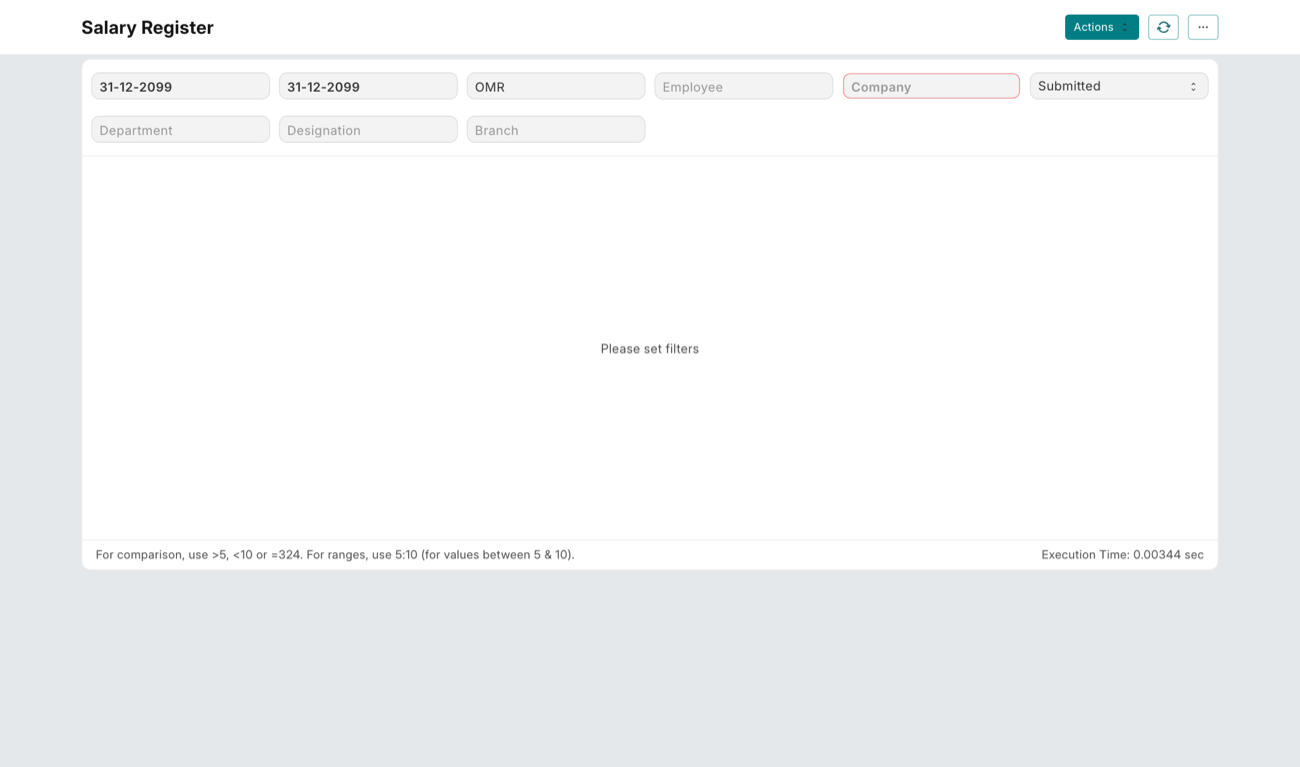
| Salary Register | Payroll | All salary slips for a period, broken out component-by-component. |
| Bank Remittance | Payroll | Net pay per employee for the bank transfer / WPS file. |
What a report looks like
Every report opens with a filter bar at the top and results below. (Sample rows are hidden in these screenshots for privacy — on your own desk they fill with your employees once you set the filters and Refresh.)
Dashboards
The HR Dashboard and Recruitment / Attendance / Expense Claims dashboards (workspace shortcuts) chart the same data visually — headcount, leave, attendance trends — for an at-a-glance view.A product of Enfono Technologies — part of the Fateh HRMS suite
Fateh HR is the mobile front end to everything above (Android app + web PWA, offline-first, English & العربية). Full app manual & screenshots: fatehhr-docs.vercel.app · web demo:hr-demo.enfonoerp.com/fatehhr.The five tabs — at a glance
Everything lives under five tabs on the bottom bar. Tap between them anytime.
| Tab | What's there |
|---|---|
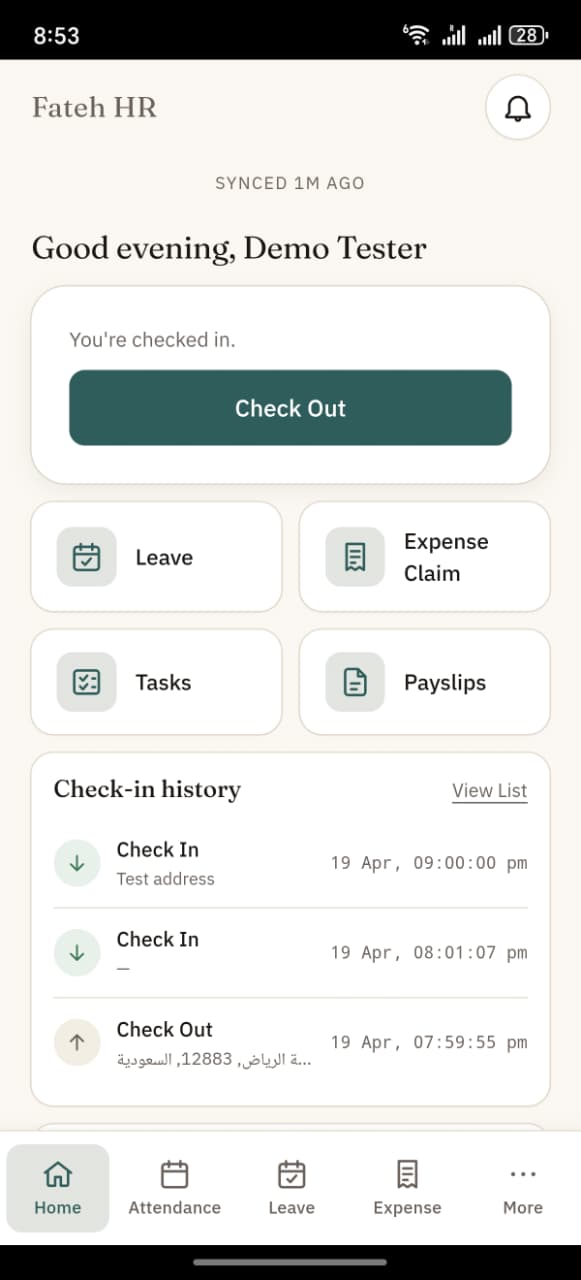
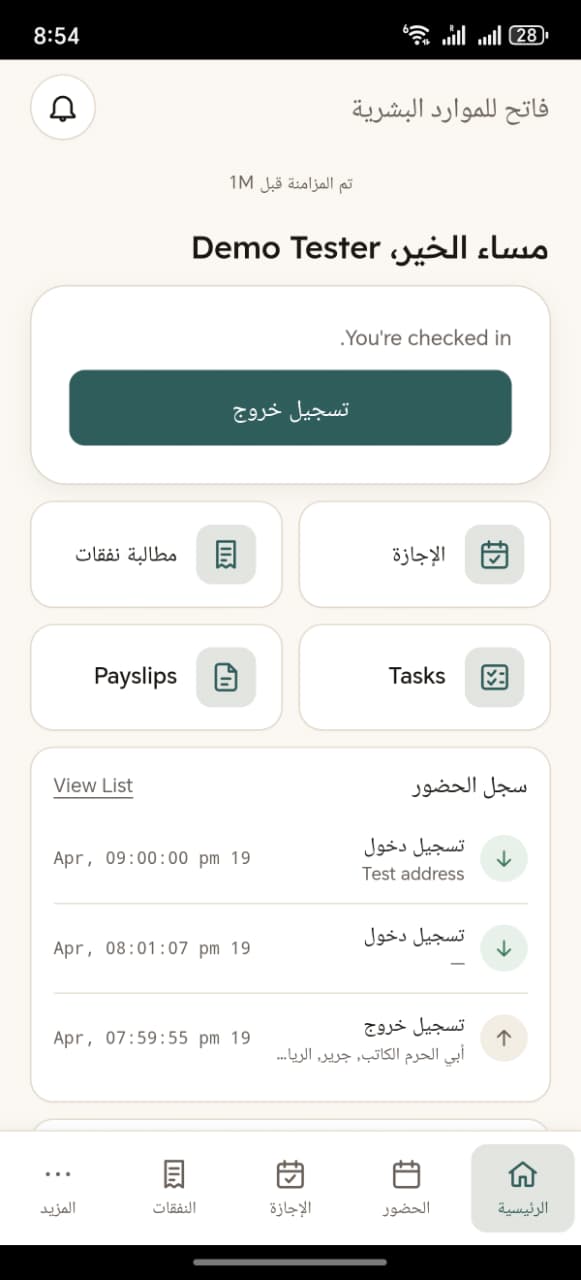
| Home | Your status (checked in / out), the big Check In / Out button, a live "worked today" line, quick actions (Leave, Expense, Tasks, Payslips), and recent check-in history. |
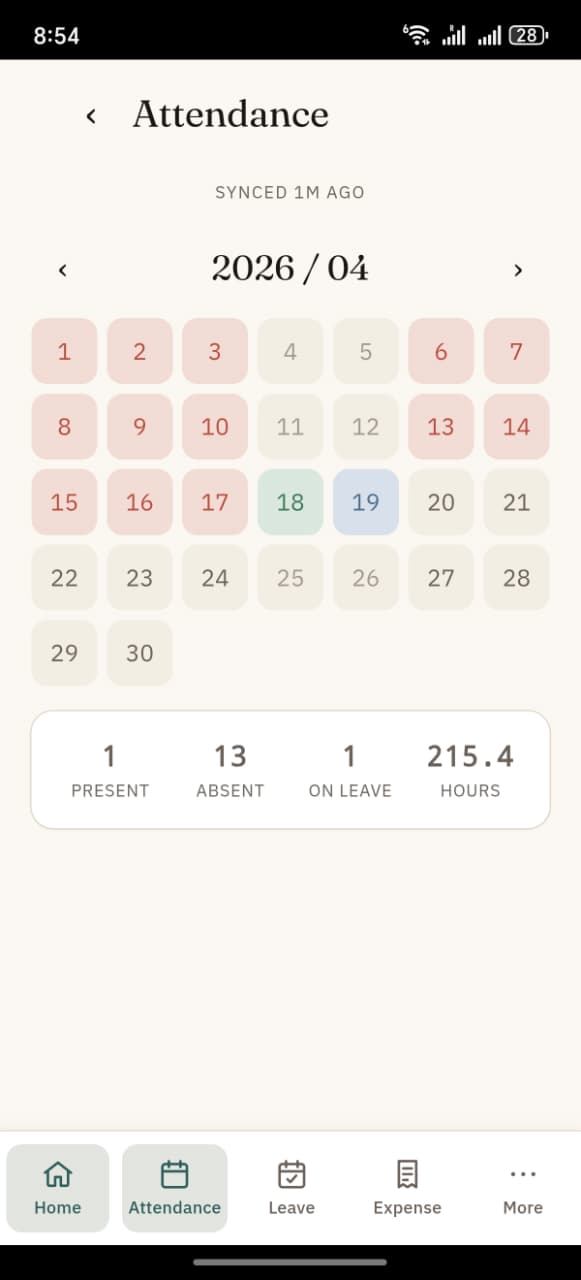
| Attendance | Monthly calendar — tap any day for its IN / OUT pairs and hours. |
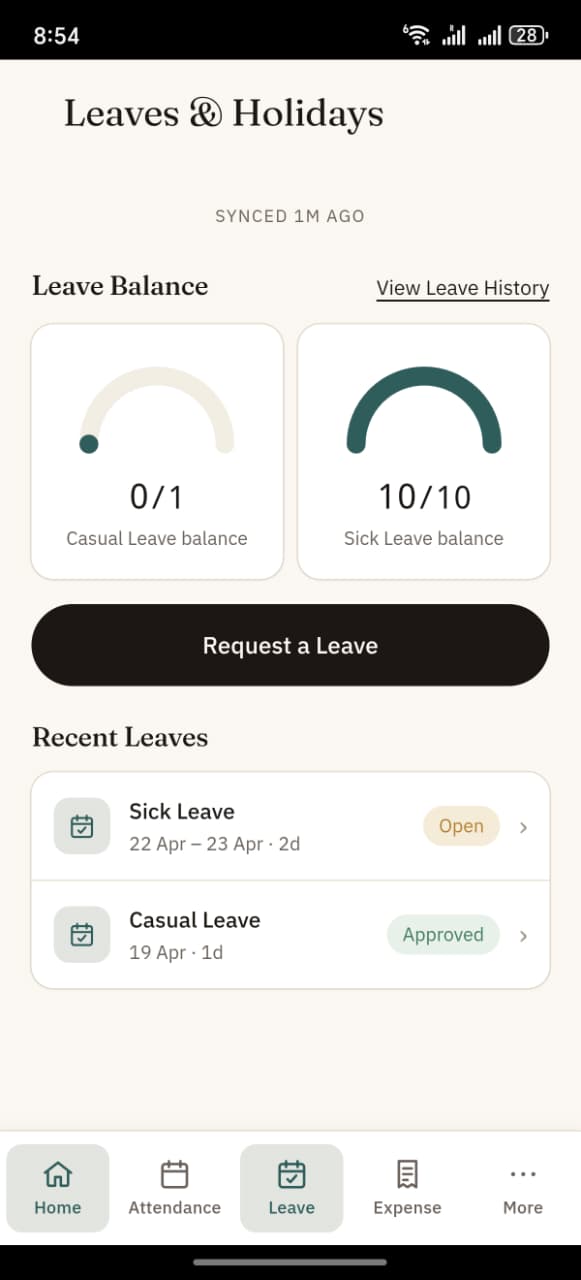
| Leave | Leave balances, the request form, and your application history. |
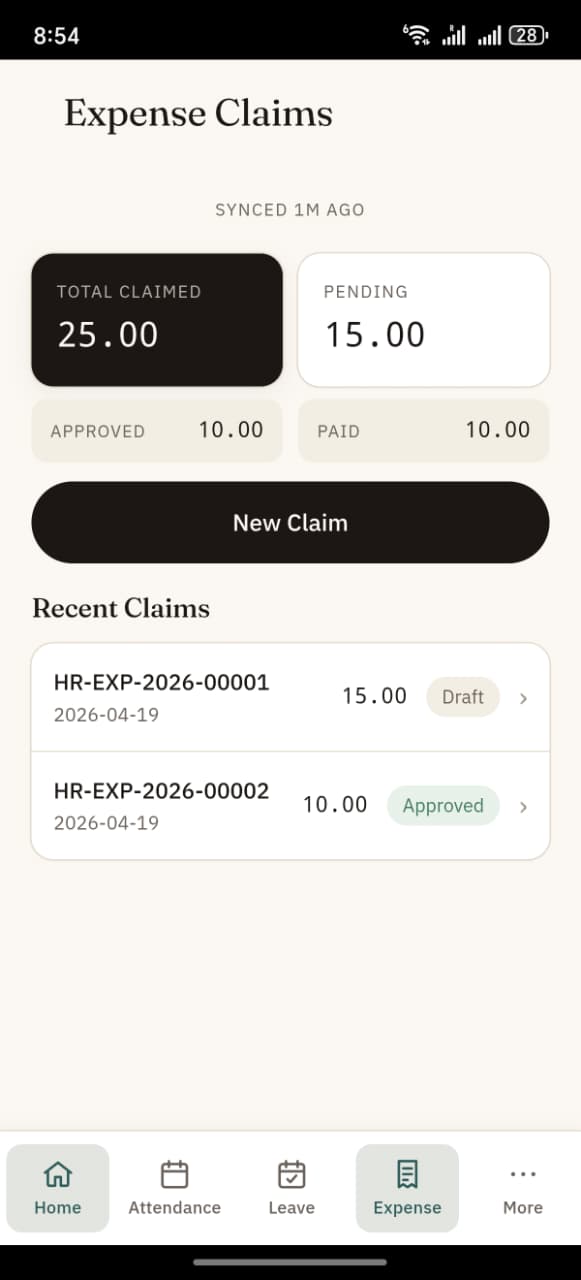
| Expense | Totals (Claimed / Pending / Approved / Paid), new-claim button, recent claims. |
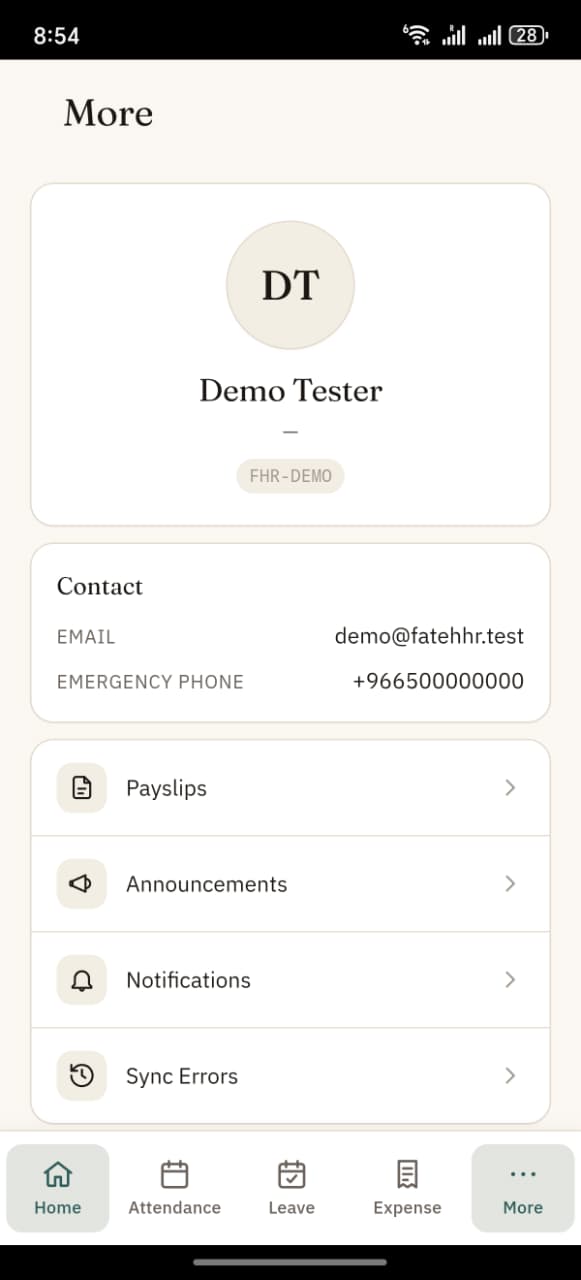
| More | Profile, payslips, announcements, notifications, sync status, language, log out. |
Install the app
Android (recommended) — open the APK link HR shares, tap it, and allow "install from this source" once. Faster, works offline, native notifications & biometric.
Any phone (web) — open hr-demo.enfonoerp.com/fatehhr in the browser, then Add to Home Screen so it opens like an app.
iPhone — use the web option above via Safari's Share → Add to Home Screen (a native iOS build is on the roadmap).
Log in, set a PIN & biometric
Sign in with your work email + password (from HR). Each person needs their own login.
Set a 4–6 digit PIN — that's what you use day to day instead of the full password.
Turn on fingerprint / Face ID unlock when prompted for one-tap entry. After ~2 hours idle the app asks for your PIN / fingerprint again — that's the session timeout, expected.
Check in & check out
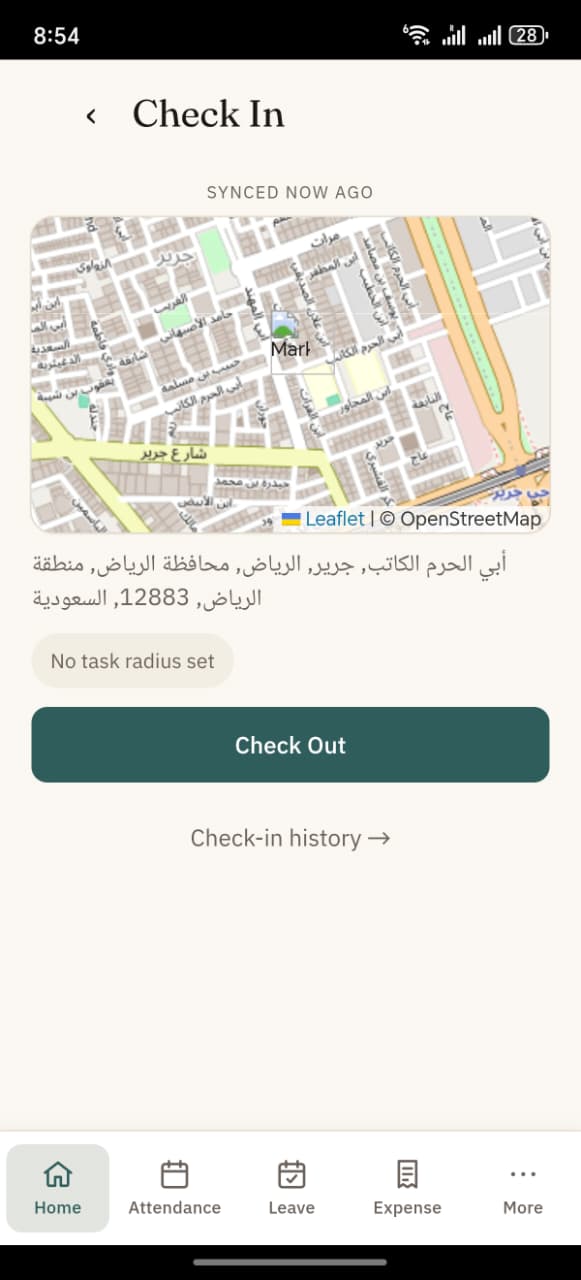
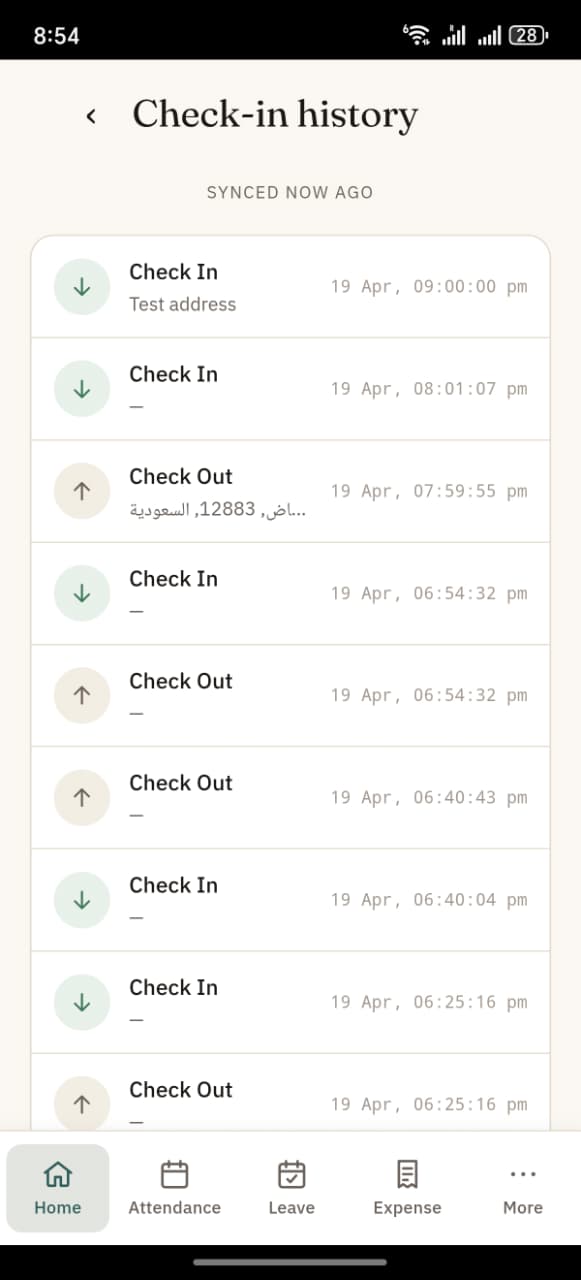
The core of the app. On the Home tab tap Check In to start your day and Check Out to end it. The button captures your GPS location (and an optional selfie) at the moment you tap — there's no background tracking. Your "worked today" time ticks live, and recent check-ins show below.
Working offline & the sync bar
Fateh HR is built for the field — it works with no signal. Check-ins, leave and claims are saved on the phone and upload automatically when you're back online, timestamped at the moment you tapped (not when they sync). The thin bar at the top always tells you where your data is:
Attendance calendar
The Attendance tab shows the month colour-coded — Present, Absent, On Leave, Holiday. Tap any day to expand its IN / OUT pairs and total hours.
Apply for leave
Open the Leave tab — your balances per leave type are at the top.
Tap Apply, choose the leave type and from / to dates (you can backdate leave already taken), add a reason.
Submit — it goes to your approver, and the status shows in your history.
File an expense claim
Open the Expense tab and tap New Claim.
Add each line — type, amount, and a receipt photo (required per line).
Submit. Track it in the totals (Claimed / Pending / Approved / Paid). An approver may sanction a reduced amount — the "Approved" figure shows what was granted.
Payslips
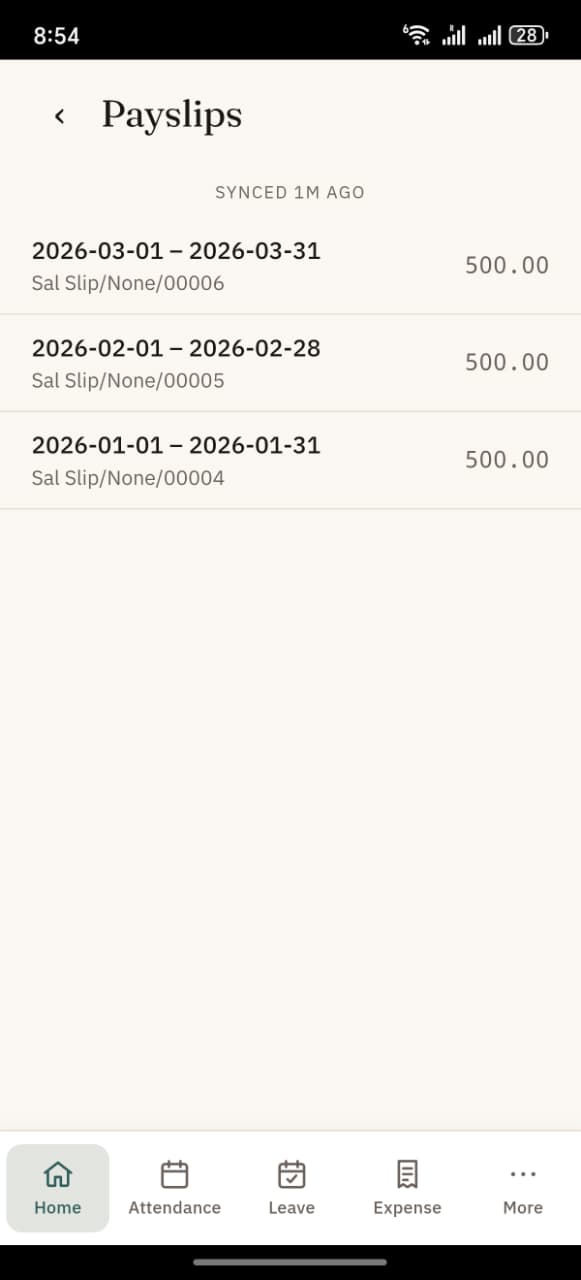
The Payslips quick action (Home) or More › Payslips lists every payslip on your record. Tap one to view the earnings/deductions breakdown and download the PDF. New months appear automatically once HR runs payroll.
Tasks
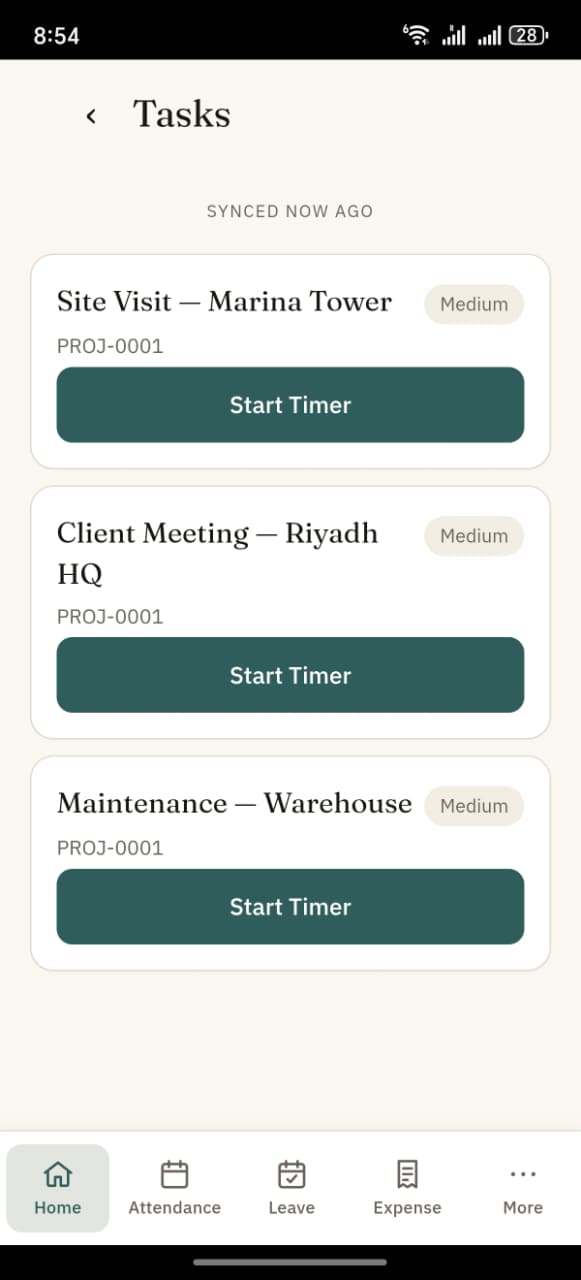
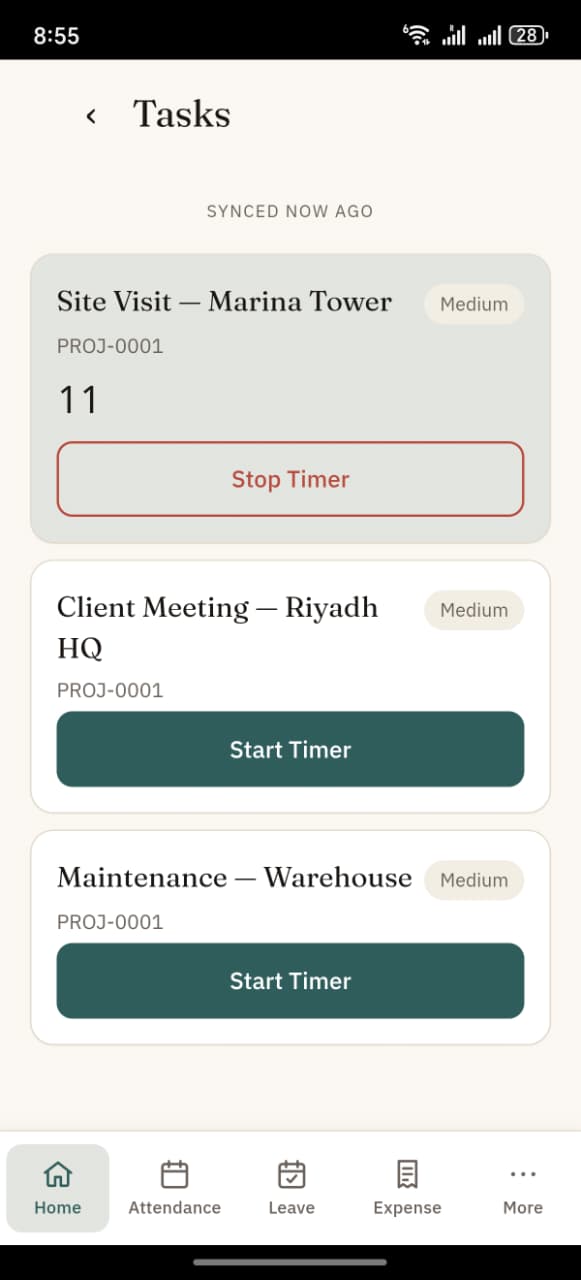
The Tasks quick action lists work assigned to you. Open a task to see its details and, where enabled, run a timer while you work on it — handy for time-tracked or geofenced field jobs.
Announcements, profile & language
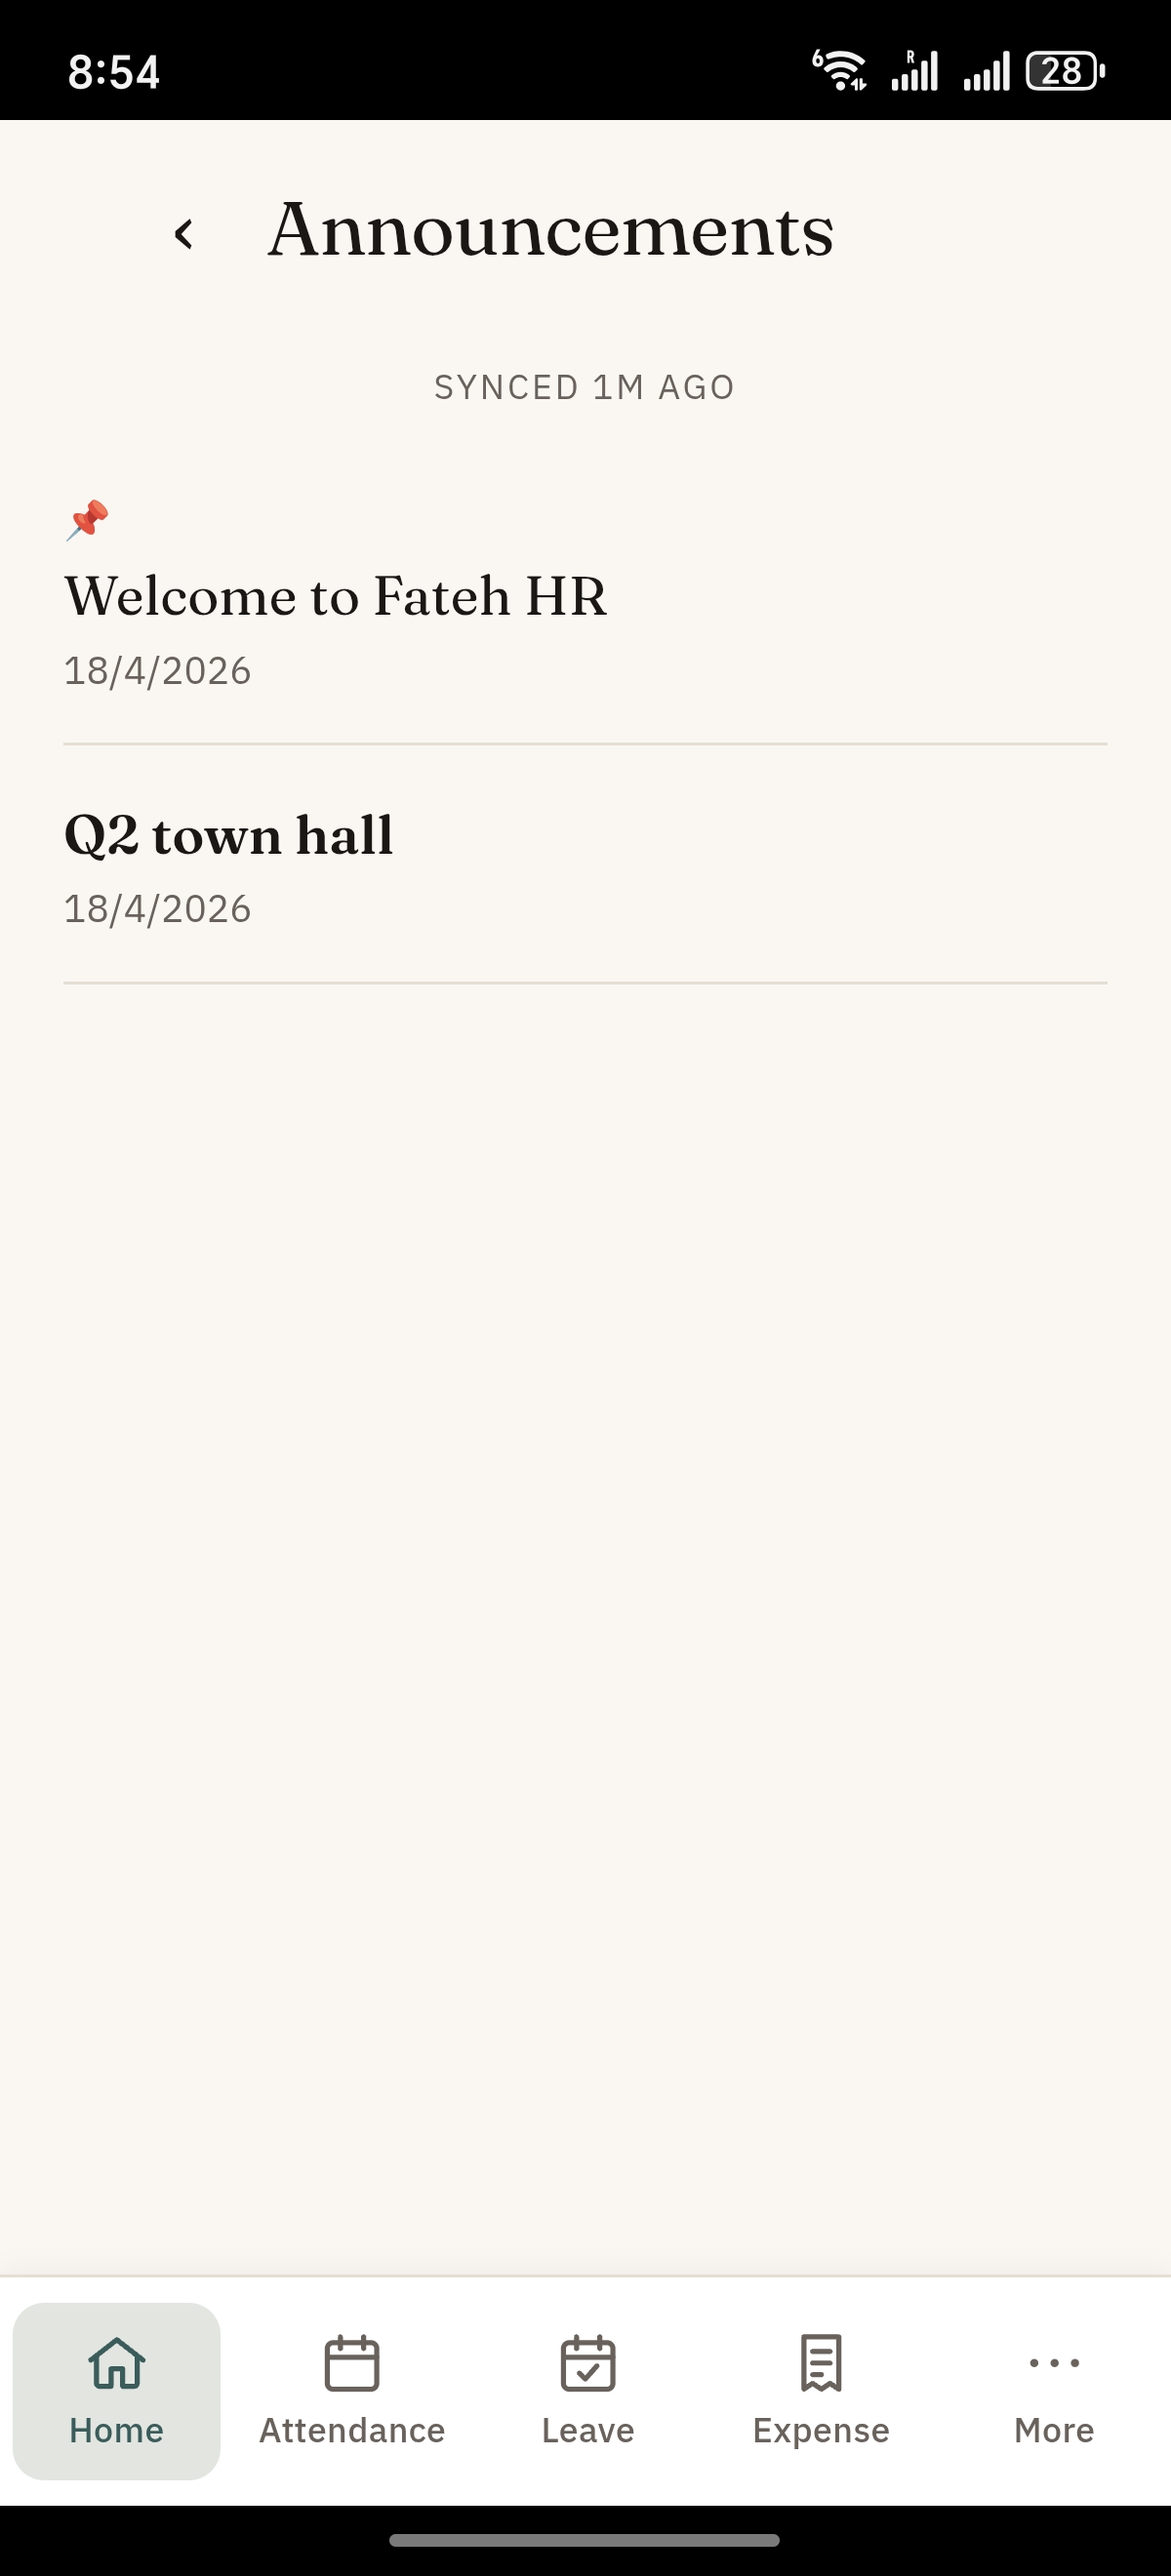
The More tab holds company announcements, notifications, your profile (roles, assigned info, app version, this guide) and log out. Switch the whole app between English and العربية (full right-to-left) from here.
Troubleshooting & FAQ
| Question | Answer |
|---|---|
| Is my location tracked all day? | No — location is captured only at the moment you tap Check In / Out. No background tracking. |
| I forgot to check out. | The app auto-closes the open pair at midnight; the day still counts as Present (hours stop at 23:59). |
| How long can I stay offline? | Indefinitely — everything queues locally and syncs in order when you reconnect. |
| Can I backdate a leave request? | Yes — pick the past dates; HR sees the submission date differs (normal). |
| Claim without a receipt? | No — every expense line needs a receipt photo. Tell HR if a receipt is lost. |
| Lost or stolen phone? | The app is behind your PIN / biometric. Ask HR to reset your API credentials to kill the old session. |
| Can I use a tablet? | Yes — the web app works on tablets (phone layout). |
Full app manual
Every screen has a deeper walkthrough at fatehhr-docs.vercel.app — share it with staff during rollout.| Role | Typical access |
|---|---|
| HR Manager | Full HR — masters, policies, payroll, approvals, settings. |
| HR User | Day-to-day HR operations; usually not payroll finalisation. |
| Employee | Self-service — own profile, leave, claims, payslips (the Fateh HR surface). |
| Approvers | Leave / Expense Approver — set per employee (or by department). |
Global switches live in HR Settings. Assign Holiday Lists and Approvers on each Employee (Attendance & Leaves tab). To give someone access, an Administrator adds the right Role to their User.
- Company, departments, designations, grades created.
- Holiday List(s) built and assigned to employees.
- Employees created (or imported) with joining date, manager, User ID.
- Leave Types + Leave Policy defined; allocations run so balances exist.
- Shift Type(s) with Auto Attendance; Shift Assignments for shift staff.
- Expense Claim Types mapped to accounts; approvers set.
- Salary Components + Structures built; Assignments done; statutory (e.g. GOSI) confirmed.
- Roles assigned (HR Manager / HR User / Employee); approvers per employee.
- Test one full cycle: check-in → attendance → leave → expense → payroll → payslip.
- Roll out Fateh HR — share the app link, brief staff on login → PIN → check-in.
Fastest adoption win
Get every employee on Fateh HR for check-in and self-service on day one — attendance, leave and payslips then flow with no paperwork.HR & Payroll User Guide · Enfono Technologies
ERPNext v15 · Fateh HRMS · Fateh HR mobile app · Rev. July 2026 — screenshots show the Fateh HRMS desk.